


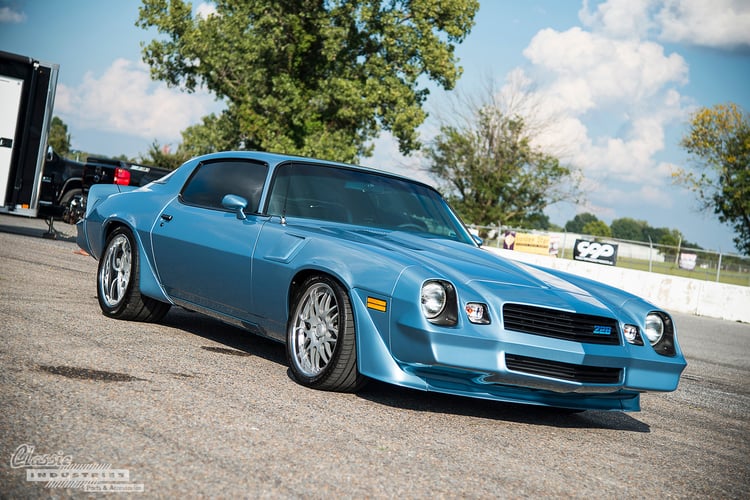
Even for those of us who love to take on DIY restoration projects, there are certain tasks that can seem a little too daunting. Rewiring a car is one such project, since it's all too easy to get tangled up in a rat's nest of loose wires or frustrated while troubleshooting connections. Thankfully, companies such as American Autowire have simplified the process by providing complete wiring harness update kits for classic cars. In a recent issue of All Chevy Performance, the team shows how to rewire a second-gen 1971 Camaro, plus install lights and a new battery.
All Chevy Performance's Second-Gen Camaro Gets Wired

The ACP team started with a 1970-73 Camaro Classic Update Wiring Harness from American Autowire (PN 510034) but also purchased a few related electronic upgrades, including a Dapper Lighting LED Seven projector headlight kit, OER headlight housings and bezels, OER park lamps, an Optima RedTop battery, OER taillights, Dakota Digital LED taillight modules, OER license plate bracket/fuel door, and an AMD chrome rear bumper.

The first step was to install new OER reproduction headlamp housings and mounting buckets. Once this was complete, the Dapper Lighting projector headlamps could be installed and finished with OER chrome headlamp bezels.

Next, the faded and cracked park lamps were replaced with a set of OER reproduction park lamps.

With the front lights installed, it was time to bring everything together with the American Autowire Classic Update Kit. It includes wires for the headlights and taillights, a complete fuse panel, and can accommodate modern updates like EFI, aftermarket gauges, and even tilt steering columns.

First, the fuse box was mounted to the factory bulkhead hole under the left side of the dashboard. Wires for interior components were looped and set aside for when the interior is restored in the future.

The bulkhead was secured to the fuse box from the engine bay side of the firewall.

Wires from each of the headlights were spliced and attached to the new harness. Each branch of the wiring was wrapped in electrical tape for a neat installation. The team also cut and terminated custom battery cables before installing the Optima RedTop battery.

At the rear of the Camaro, new OER reproduction taillight housings and taillight lenses were assembled along with Dakota Digital LED brake/taillight modules. Even the gaskets and Peri-Keps nuts were sourced from the Classic Industries catalog.

Finally, the license plate bracket/fuel door and rear bumper were replaced with new components, finishing the restored look of this '71 Camaro. The headlights, taillights, park lights, turn signals, and reverse lights were all checked for proper function. Now this Camaro is one step closer to getting back on the road again!
For more details and photos, be sure to read the full article from All Chevy Performance.
Looking for Camaro Restoration Parts?
Whether you're just starting work on a new project car or you're several years into a complete rebuild, Classic Industries can help you find all the parts and accessories you need to finish the build. Click here to browse our Camaro parts online or click the button below to get a free full-color restoration parts catalog.