


Every classic car has parts that wear out over time, but some tend to need replacement sooner than others. Soft items like bushings, hoses, and weatherstrip are often the first to go, especially when they're exposed to heat, moisture, and harsh sunlight for decades. Window felts are another such item. When they deteriorate, moisture and dirt can enter the door, and the glass may rattle loudly. Thankfully, it's possible to replace your car's old window felts in your own garage. Today, we'll take a look at how to replace window felts on the second-generation 1970-81 Camaro and Firebird/Trans Am.
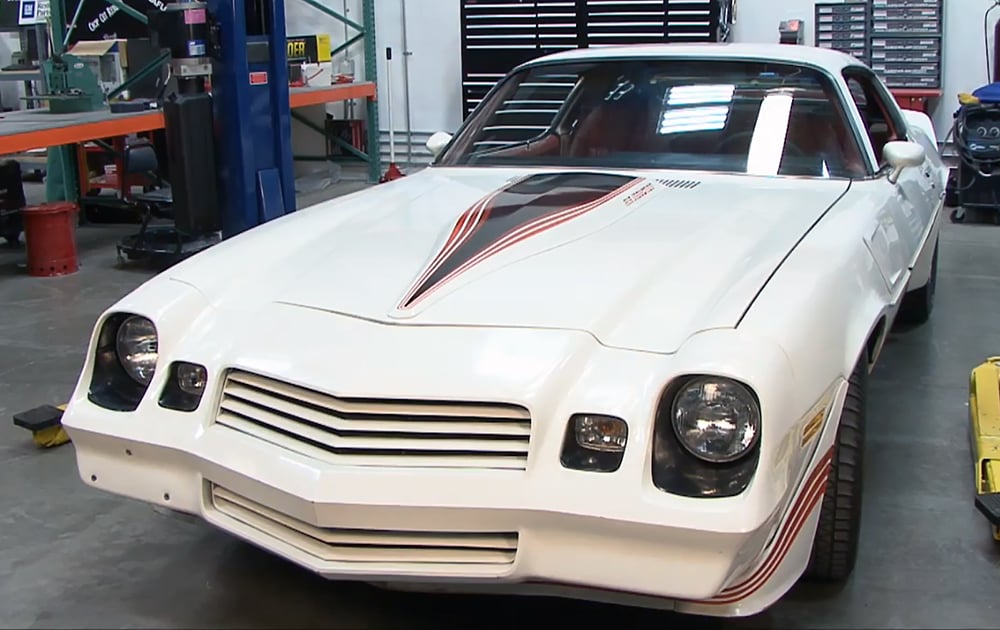
The 1981 Camaro Z28 photo above is courtesy of Mecum Auctions.
DIY Camaro/Firebird Window Felt Installation
We created a video in the Classic Industries Tech Center showing exactly how to install window felts in a 1970-81 Camaro. You can check it out on our YouTube channel below, or continue reading for a step-by-step summary of this DIY project.
The demonstration car in this video is a 1981 Camaro Z28, but the same basic process applies to all second-gen F-body cars, including the Camaro, Firebird, and Trans Am.
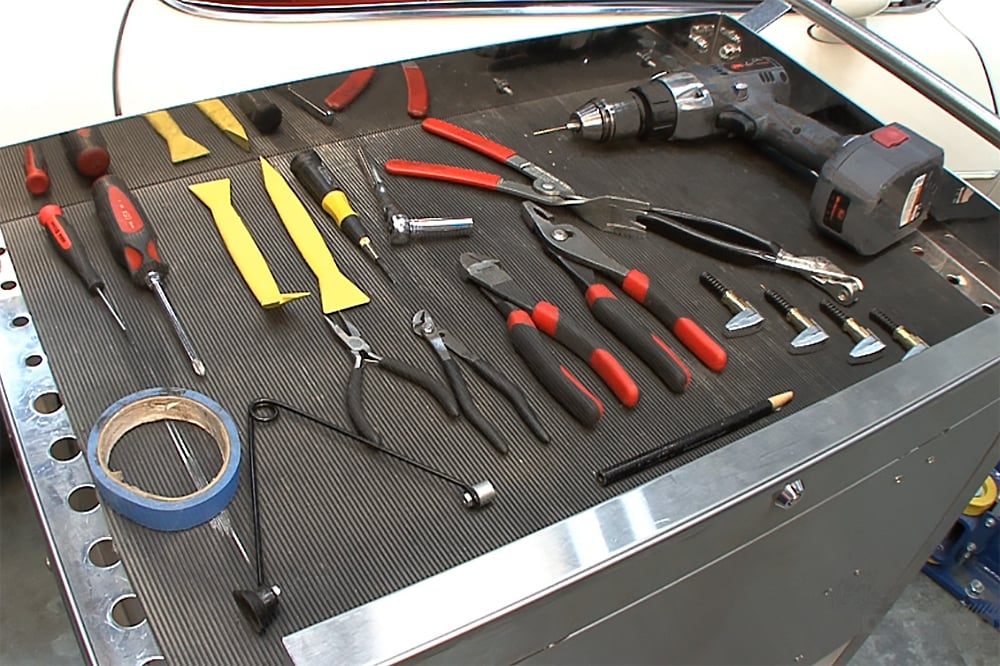
For this project, you'll need the following tools:
- • Flat and Philips screwdrivers
- • Plastic pry tools
- • Center punch
- • Small ratchet with 11mm socket
- • Door panel popper tool
- • Drill with 1/16" bit
- • Cleco pliers with side-grip Cleco fasteners (small clamps will also work)
- • Various sizes of pliers and diagonal cutting pliers
- • Grease pencil
- • Masking tape
- • For models with manual windows: spring clip removal tool
- • Optional: door pin spring tool
To begin, disconnect the battery or use the door pin spring tool to press the door switch. Otherwise, the battery may drain while you're working.
Next, remove all the door panel accessories, including the lock knobs, door handle escutcheon, and power door lock switch. Also remove the screws retaining the armrest (for this '81 Camaro, there are three).
Run a plastic pry tool around the edge of the door panel to locate any remaining clips or screws that are holding the panel in place. Remove screws as needed, and use your door panel popper tool next to each clip to pull the panel away from the door. The door panel can then be lifted up and away from the door and set aside.
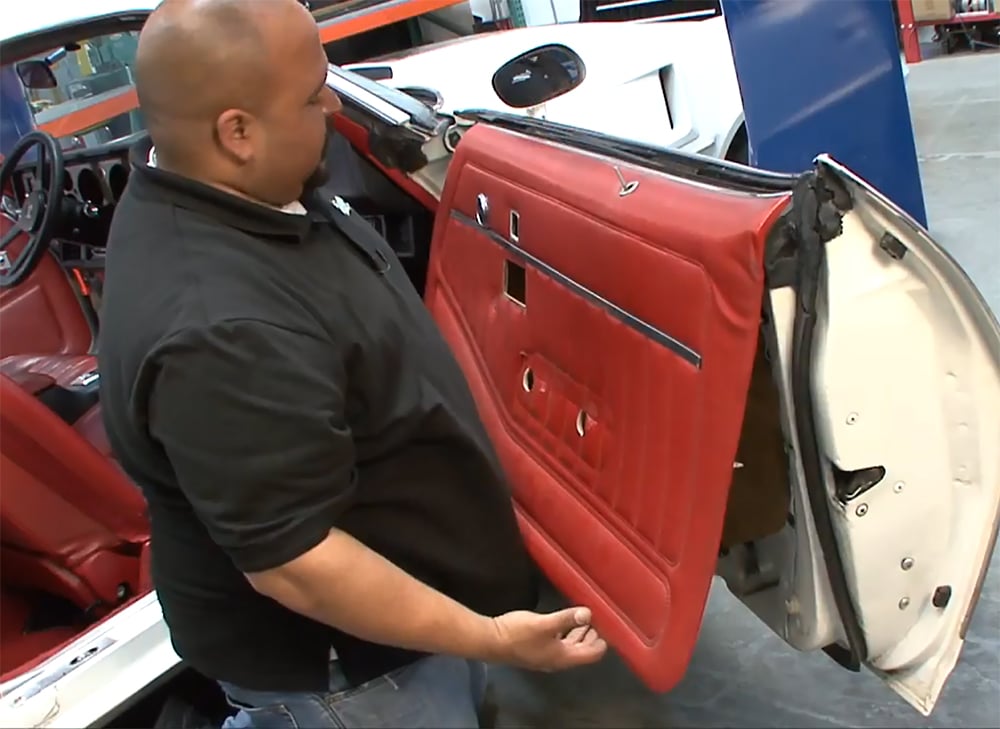
Above: After moving the panel to confirm that all clips and screws are removed, slide it up to unhook the top edge from the door.
Outer Window Felt Replacement
If the original water shield is still in place, use a pry tool or scraper to peel it away from the door. This will reveal the inside of the door.
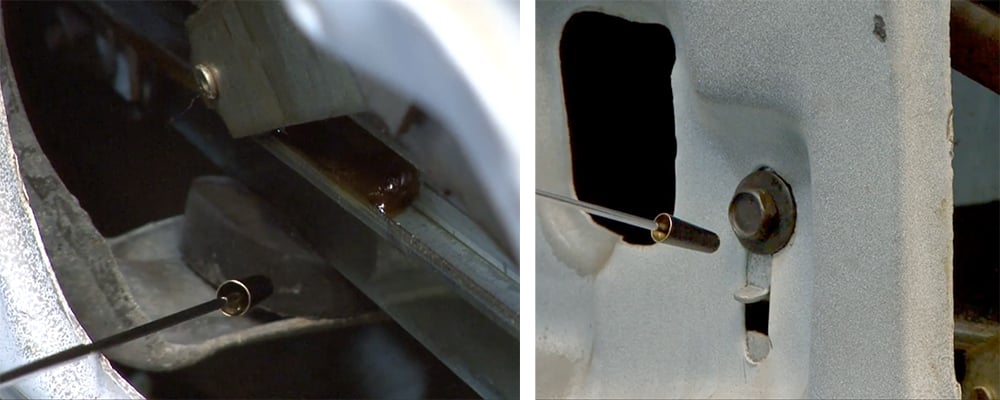
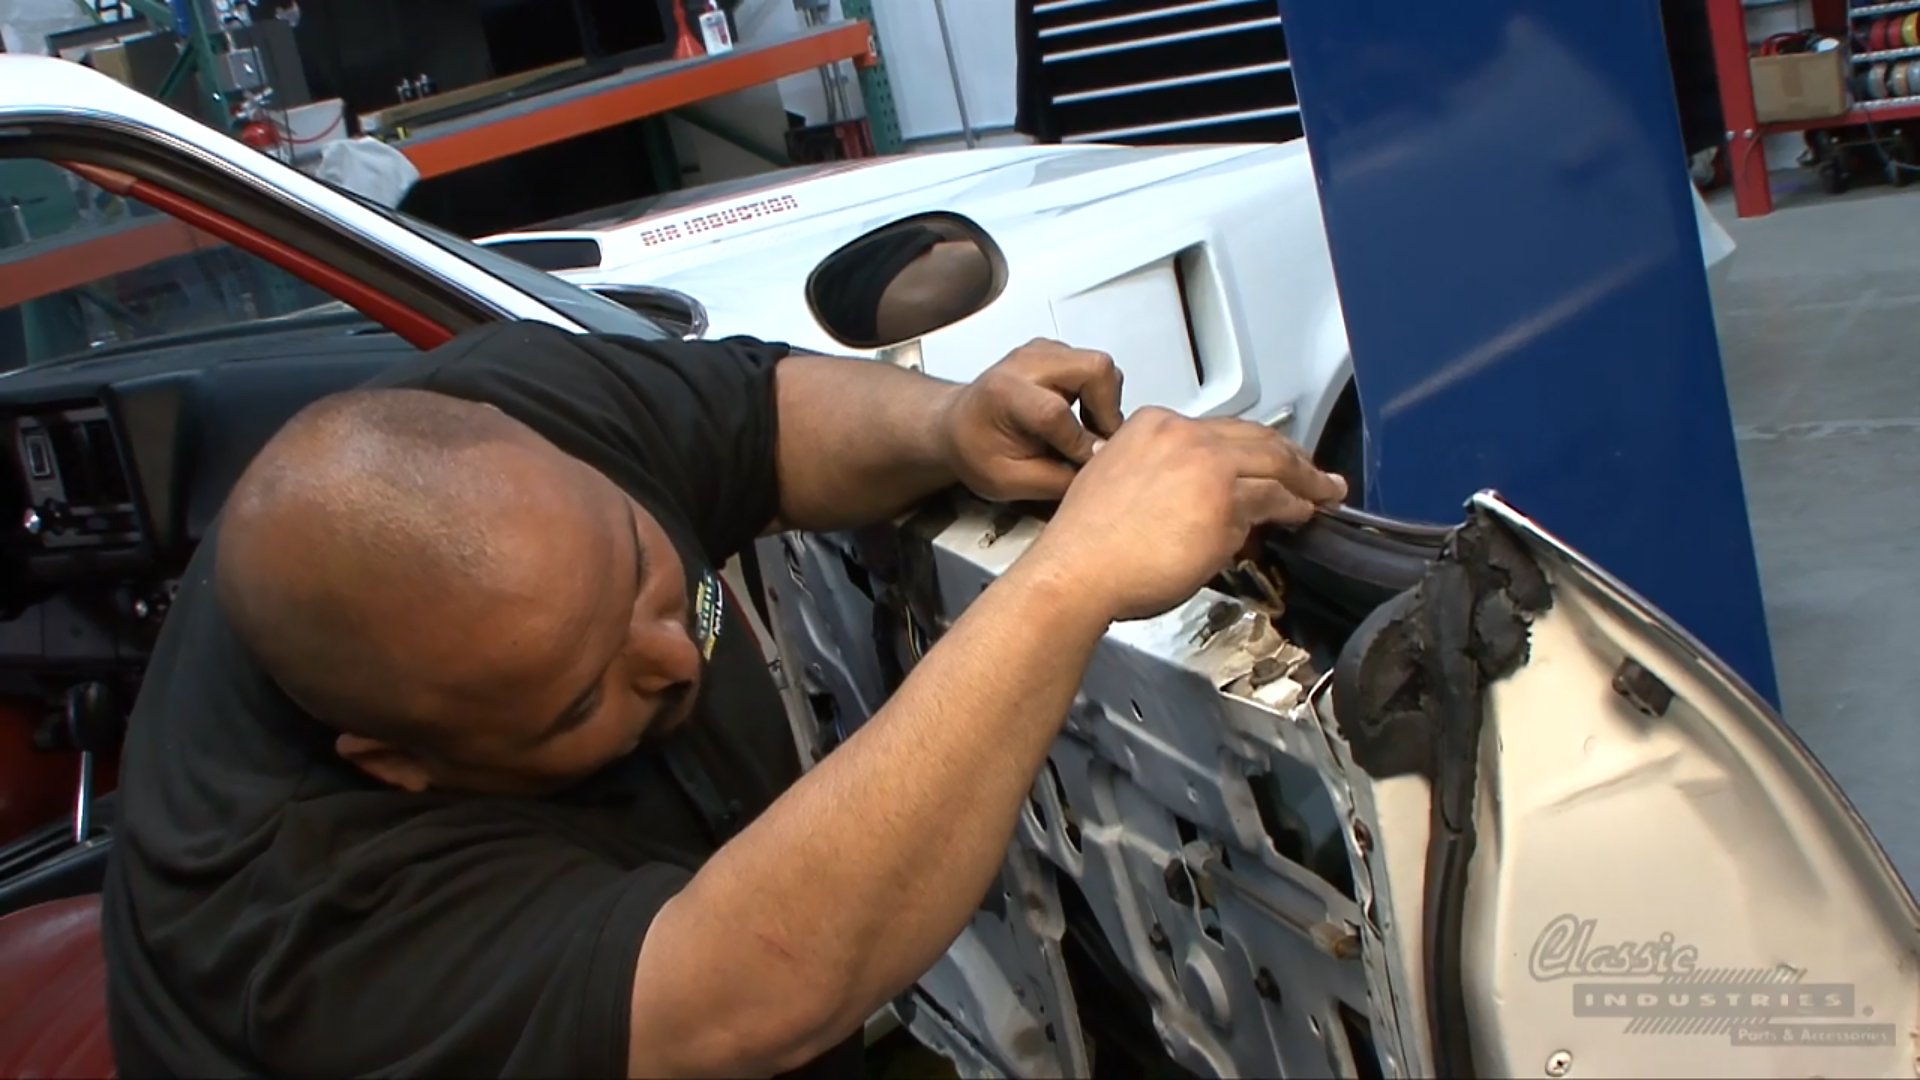
Next, take note of the position of the rubber window bump stop at the bottom of the glass (left image), and the 11mm bolt that holds it in place (right image). Mark the bump stop location with your grease pencil, loosen the 11mm bolt, and slide the window down to expose the window felt.
Remove the retaining screws on the old outer window felt, then remove the felt. Check the condition of the felt pad behind the upper retainer guide, and replace it with a new one (included in Classic Industries outer window felt kits) if necessary.
Slide the new Classic Industries window felt onto the door, making sure the screw holes line up, and then install the screws. Run a plastic pry tool along the felt to make sure the rubber edge is not folded or pinched against the door. Only fully tighten the screws once the felt is properly aligned.
Raise the glass bump stop back up to the marked position, and tighten the 11mm bolt. Replace the water shield with a new reproduction part, or if the old water shield is in good condition, reinstall it by pressing it back into place.
Inner Window Felt Replacement
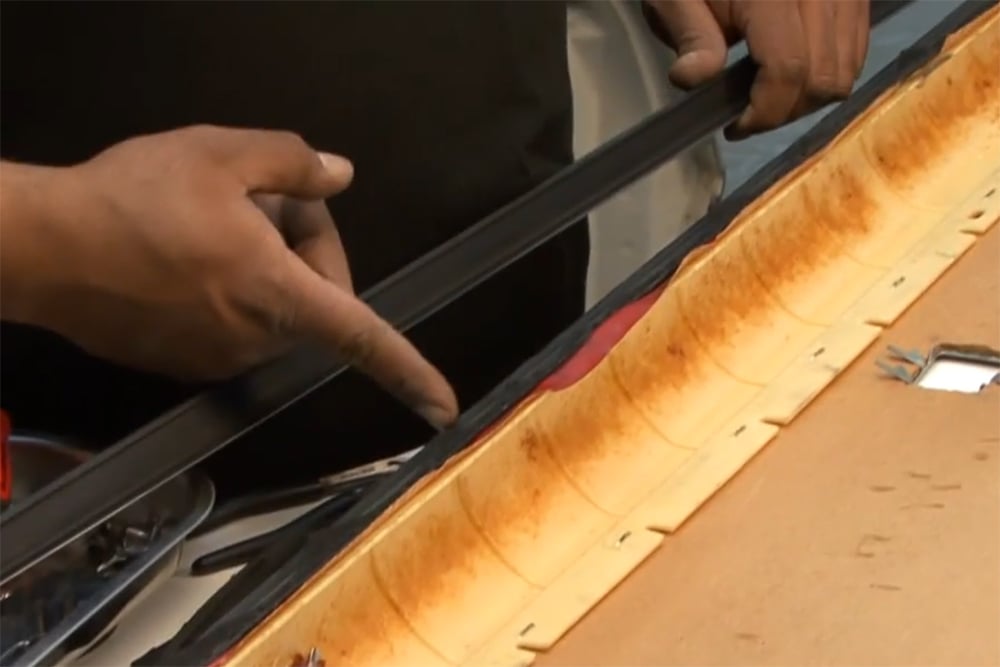
On the door panel you removed, you'll need to remove the old inner window felt. It's attached with a series of staples. Carefully pry out the staples with a flat screwdriver, pull them with pliers, and/or cut them with diagonal cutting pliers.
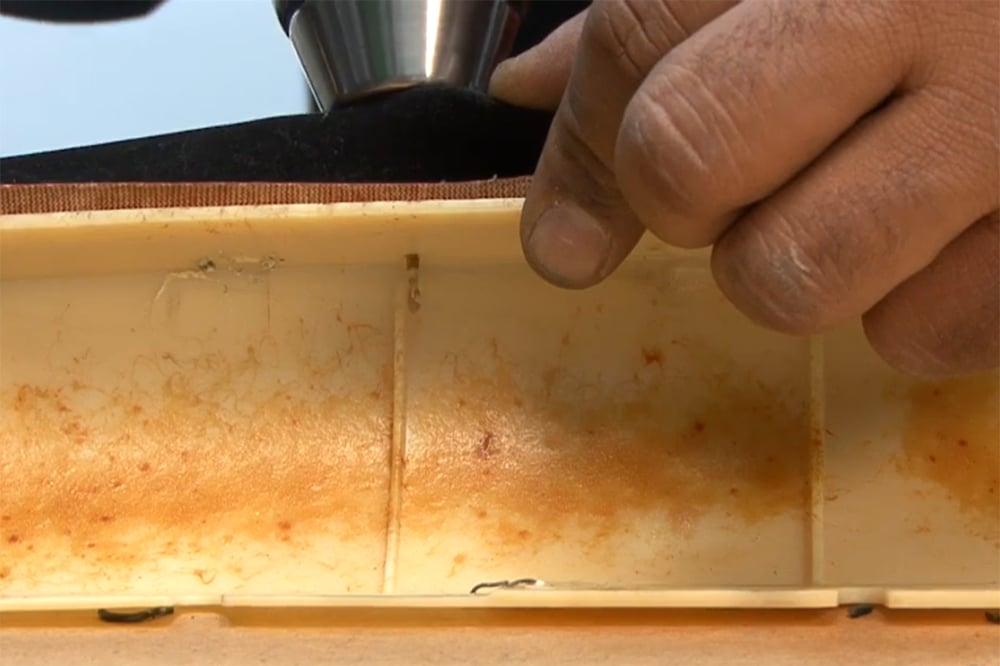
Align the new window felt on the door panel, and hold it in place with Cleco fasteners or clamps. Use a center punch to mark holes for new staples, then drill the holes through the felt and door panel with a 1/16" bit. Crimp the staples onto the panel using pliers, but be careful not to damage the felt as you do this.
Remove your Clecos or clamps and confirm that the inner felt is attached and aligned correctly. Replace any broken clips with new door panel clips.
Lower the door panel back onto the door, press each clip into place, and reinstall the armrest and other accessories. Check the function of all the switches, door handles, and locks. Congratulations — you've successfully replaced your 1970-81 Camaro/Firebird window felts!
More DIY Restoration Guides:
Want to learn about classic car restoration? Here are a few of our previous do-it-yourself articles. We'll be publishing more of these in the future, so stay tuned!
Need More Parts for Your Camaro or Firebird/Trans Am?

Classic Industries offers thousands of parts for Camaros, Firebirds, and Trans Ams of all model years. Whether you just need some new window felts or a whole new crate engine, we can help you find what you're looking for. Browse our selection of parts online, or click the buttons below to get a free full-color printed parts catalog for your Camaro or Firebird/Trans Am.