

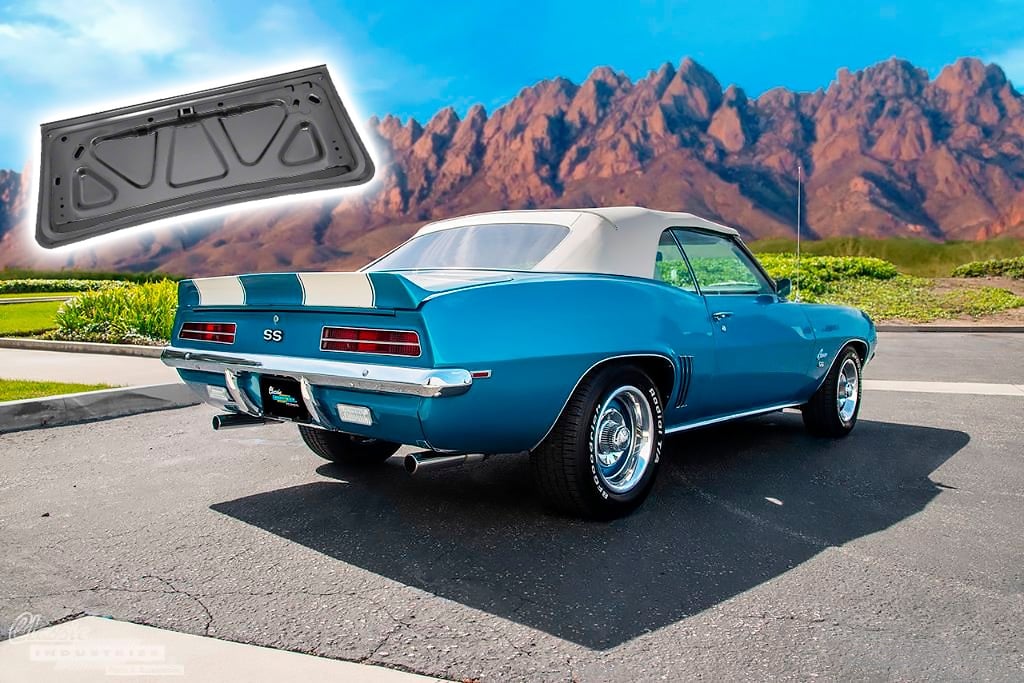
Restoring a classic Camaro is a big job, but the results are well worth all the effort. As far as individual restoration projects go, replacing the trunk lid might seem easy, since it's only held in place with four bolts. However, there are many tips and tricks to keep in mind if you want it to fit perfectly and function properly. Follow along with our step-by-step DIY guide to learn from a pro how to replace a 1967-1969 Camaro trunk lid.
First-Gen 1967-1969 Camaro Trunk Lid Replacement
The 10-minute video below was filmed in our Classic Industries Tech Center, and it shows all the steps for this DIY project. If you'd prefer to read the steps instead, keep scrolling.
This is actually the first part in a two-part series where Edgar also discusses how to install and align a trunk spoiler. We'll publish another article with the second half of the guide, but for now, we'll just focus on the trunk lid.
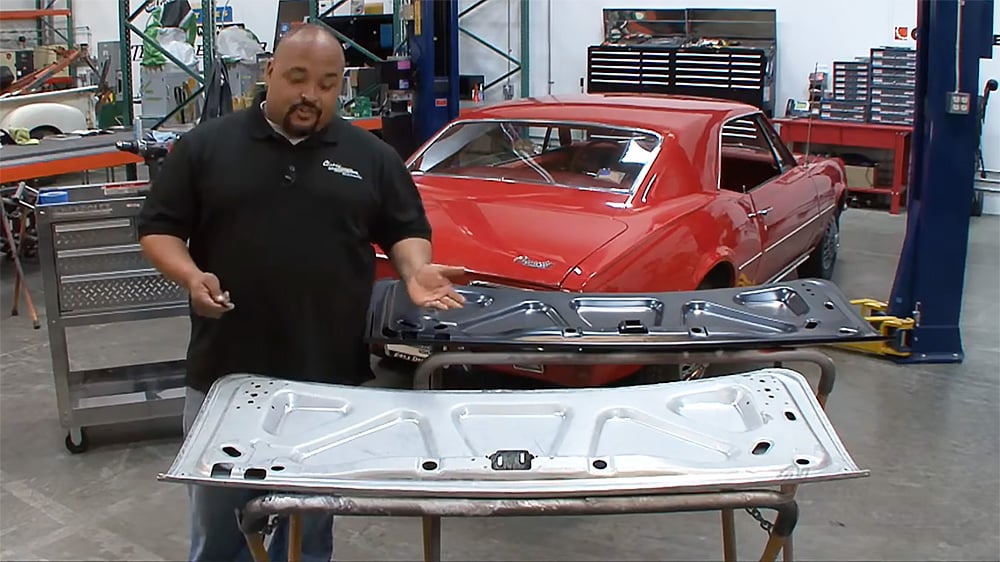
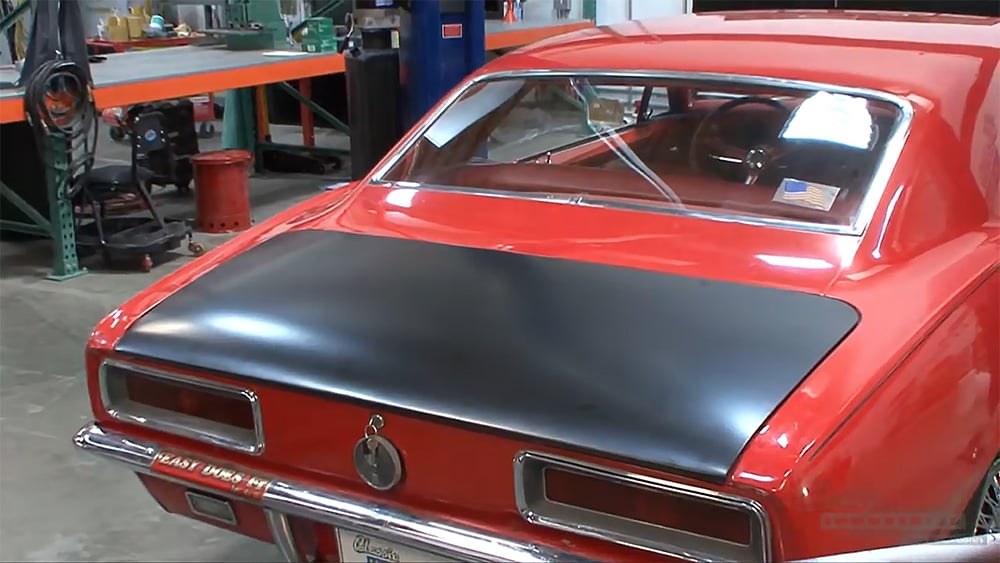
As Edgar explains, the car in our video is an early '67 model that doesn't have access holes for installing a spoiler. Thankfully, Classic Industries offers original-style reproduction trunk lids for 1967, 1968, and 1969 models, as well as all-in-one reproductions that cover 1967-1969 models.
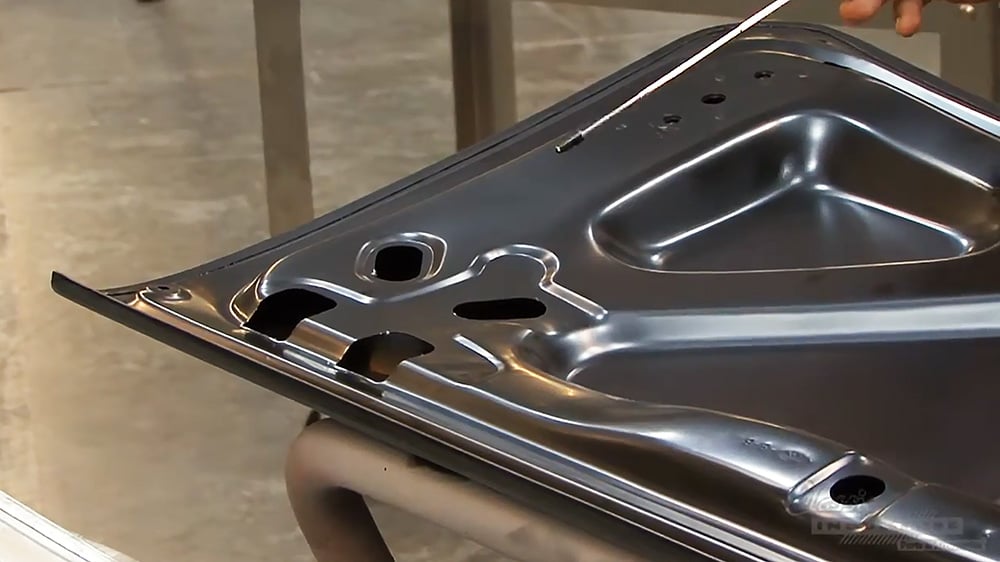
Above: Edgar points out the spoiler bolt cutouts on the OER 1967-1969 trunk lid we'll be installing on this '67 Camaro. There are no holes on the outer skin, so you don't have to use this trunk lid with a spoiler if you don't want to. If you know you'll be adding a spoiler, you can purchase a trunk lid with pre-punched spoiler holes.
Tools Needed for the Job
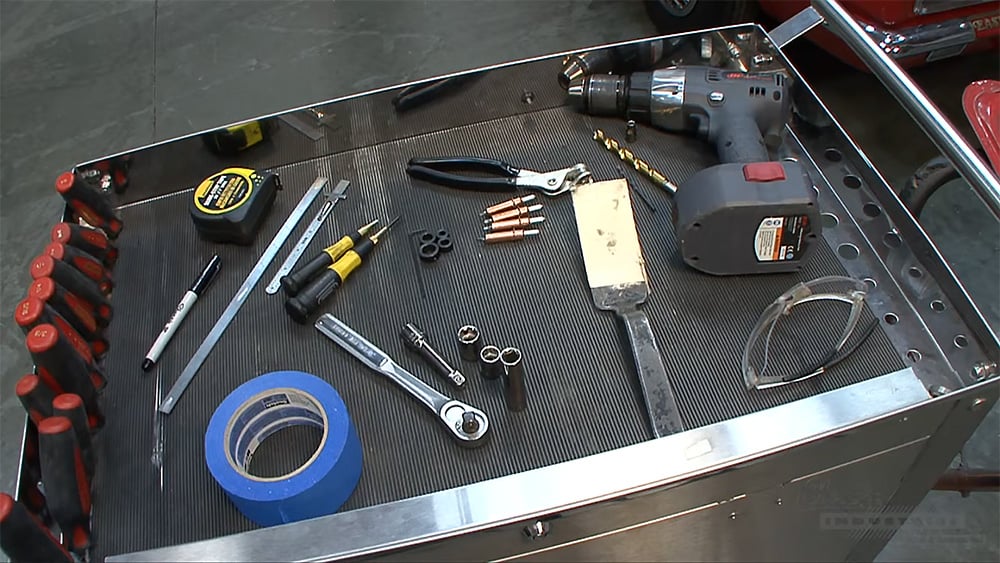
Here's a quick look at the parts you'll need for this project. If all you're doing is replacing the trunk lid with a new reproduction lid, you'll only need the following:
- Tape
- Clean shop rags
- Prying device, such as a body spoon
- Short 1/2" and 7/16" sockets
- Long 7/16" socket
- Ratcheting wrench
- Ratchet extension
- Marking pen
- Tape measure
- Various rulers
If you're going to remove and reinstall the original trunk lid, you should also have the following items on hand:
- Scribe
- Center punch
- 1/8" Clecos and Cleco pliers
- Power drill
- Drill stops (a socket can also be used, see our tip below)
- 1/8" and 7/16" drill bits
- Safety goggles
A Note About Realignment
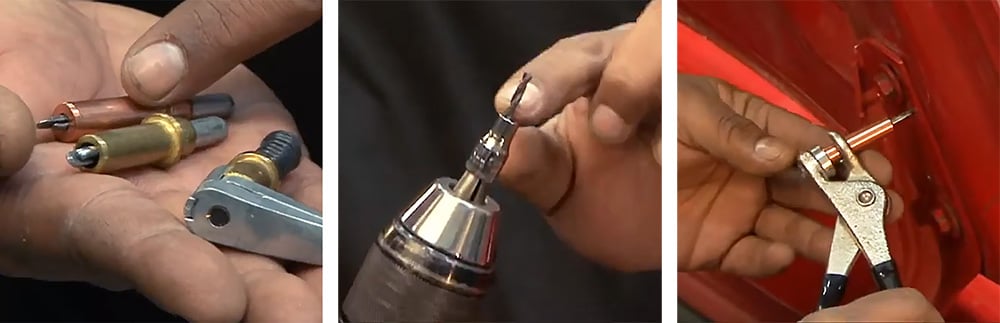
For those who may need to reinstall their original trunk lid, it's important to mark or index it so it can be returned to the original alignment. This can be done by running a scribe around the edge of the hinge, or by drilling 1/8" holes and placing Clecos through. Sliding a stop collar or a small socket over the drill bit will ensure you don't drill through the outer panel skin.
When it's time to reinstall the original trunk lid, you can just pop in the Clecos to hold it in place as you tighten the bolts.
Replacing the Trunk Lid
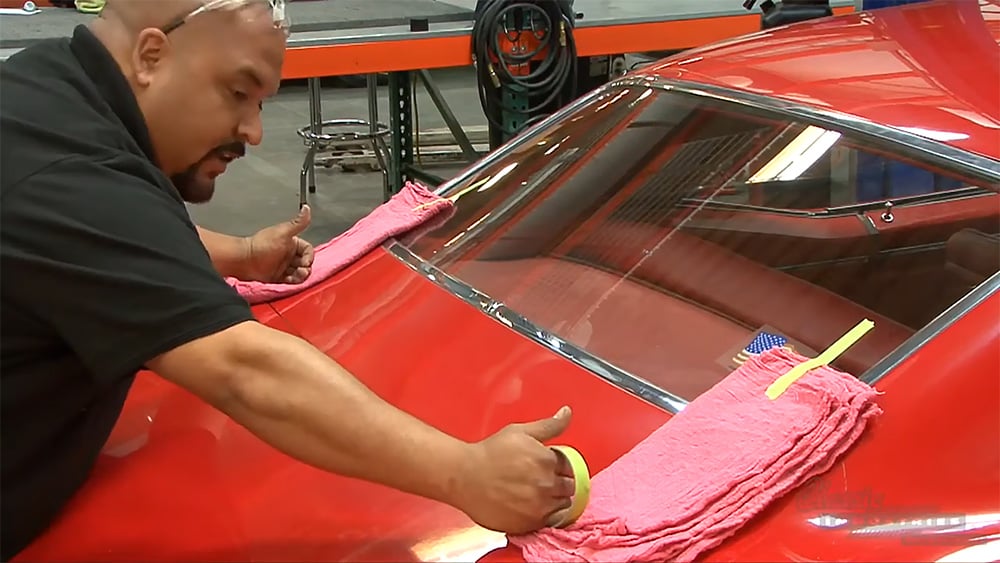
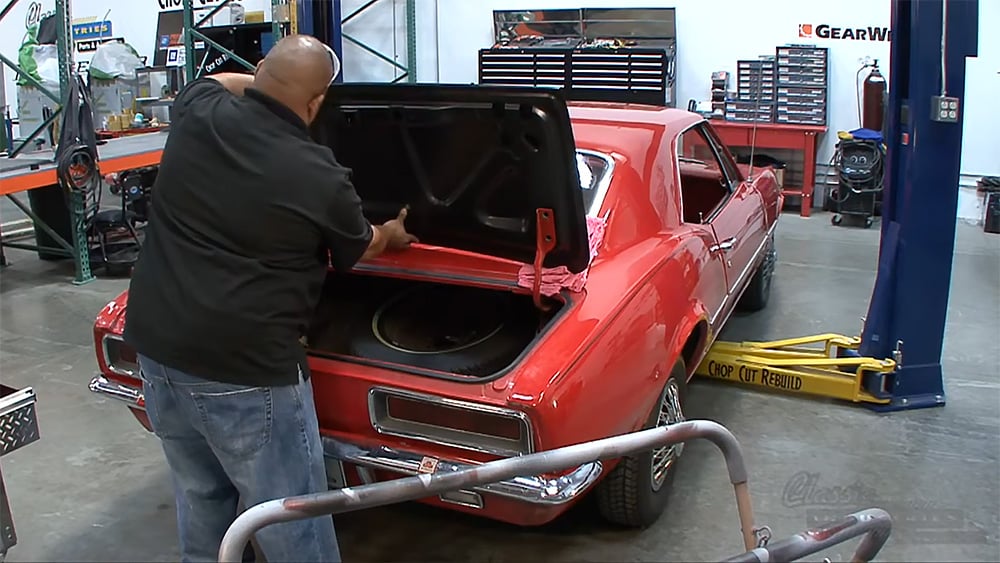
The first step is to lay folded shop towels behind the trunk lid, and tape them in place. This will avoid scratches as you swap out the trunk lid. Carefully loosen and remove the four retaining bolts from the hinges, holding the trunk lid so it doesn't slide down onto the body. Then you can lift the panel and set it aside.
Inspect the new Camaro trunk lid, and hand-thread the bolts into the holes to ensure they go in smoothly. Some body panels have small imperfections, such as the tiny dimple Edgar noticed. These don't make the panel defective, since they'll be covered up during the paint and body phase of the build, but they should be noted and/or marked for later.
Carefully place the trunk lid onto the shop towels, and thread the retaining bolts through the hinges. Gently snug them down, and slowly lower he trunk lid to check clearance between its edges and the body. In our case, one side was too close to the body, and the other was a little too low (recessed).
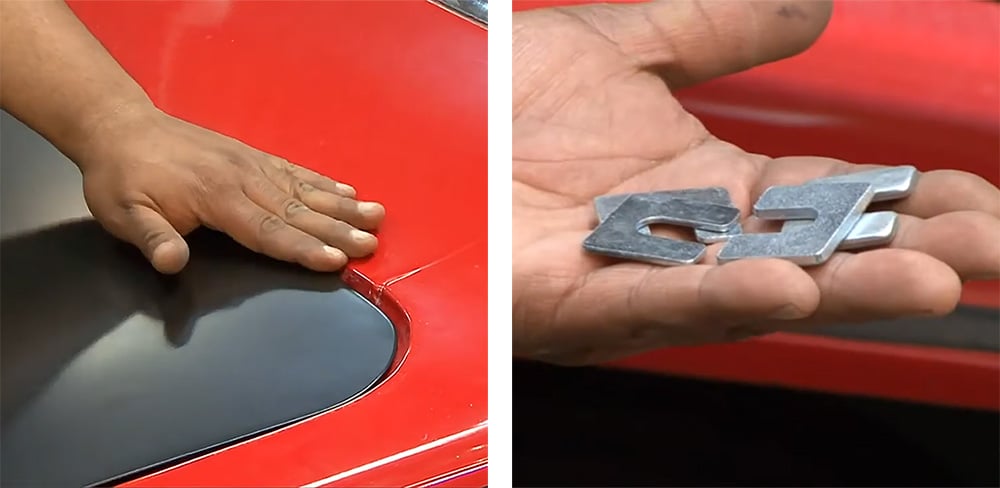
To adjust the trunk alignment, Edgar loosened the bolts and used a tape-protected body spoon to carefully apply pressure and move the panel up into position. Then, body panel shims were used to elevate one corner until it was flush with the body.
Lastly, the trunk catch fit was checked to make sure the trunk lid closed smoothly. Edgar used a small file to clearance the catch channel so it could move more easily. The final step was to close the trunk until it clicked, and install new rubber stoppers on each corner.
Stay tuned for the second part of this series, where we will install a decklid spoiler onto this Camaro's reproduction trunk lid.
More DIY Restoration Guides
Want to learn about classic car restoration? Here are a few of our previous do-it-yourself articles. We'll be publishing more of these in the future, so stay tuned!
- DIY Camaro Window Felt Replacement
- DIY Impala Steering Wheel Removal
- DIY Chevy Nova Dashboard Restoration
- DIY Battery Terminal Cleaning
Need Restoration Parts for Your 1967-1969 Camaro?
Classic Industries is your #1 source for restoration parts and accessories for the classic Chevy Camaro. We offer a huge selection of parts on our web site and through our free catalogs. Click the button below to get a free, full-color restoration parts catalog for your Camaro.