

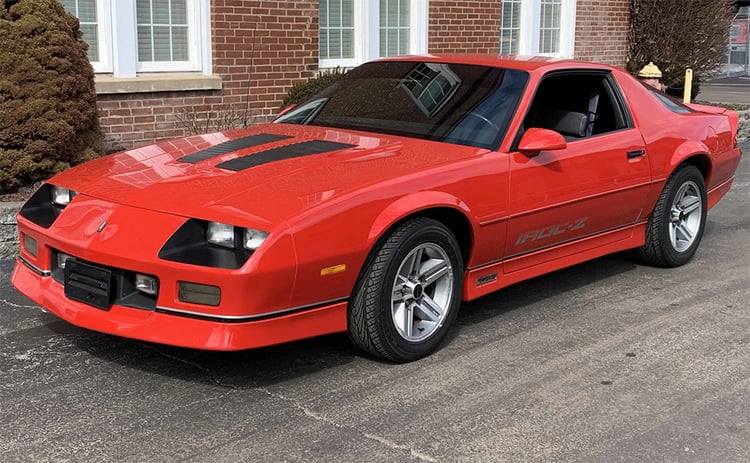
When it comes to restoring a classic car, it's common to tackle the biggest jobs first, such as repairing engine and suspension issues. Understandably, interior restoration isn't usually the top priority, since many interior parts are cosmetic in nature. However, there's one interior issue that can turn into a major annoyance every time you drive the car: a droopy, sagging headliner. So, today we'll go through some of the steps to replace the headliner on your third-gen 1982-92 Camaro or Firebird/Trans Am.
The third-gen Camaro reference photo above is courtesy of Mecum Auctions.
Identifying the Problem
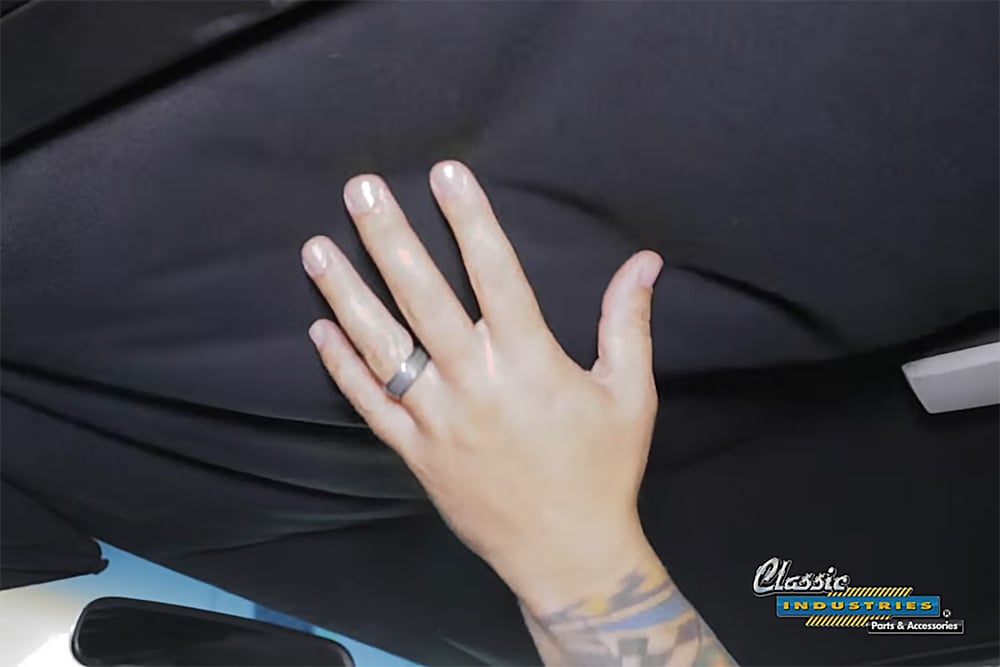
If your Camaro or Firebird's headliner is in need of repair or replacement, it'll be easy to spot. Parts of the fabric cover will separate from the board behind it, creating wrinkles or bubbles. As the issue gets worse, the headliner may even touch the top of your head, creating an annoying distraction.
Headliner Replacement Video
In the video above, Dennis Pittsenbarger walks through the steps to repair or replace a third-gen '82-92 Camaro's headliner. Although the demo vehicle is a hardtop Camaro, these steps should be the same for a hardtop Firebird, and should have some similarities to headliner replacement on T-top Camaro/Firebird models of the same year range.
Step-by-Step Headliner Replacement
Before you start, you'll need to purchase a replacement for your vehicle's headliner. Classic Industries offers a few different options. For simplest installation, you can get a complete headliner pre-installed on ABS headliner board. If your car's original headliner board is still in good condition, you can buy the headliner cloth separately and replace it.

If you buy a headliner cloth kit, make sure it includes the sun visors and sail panels. The original parts on your car are likely faded and discolored from years of heat and light exposure, so they may not match the fresh cloth headliner if you don't replace them at the same time.
To begin removing the old headliner, remove the dome lamp bulb and housing. Then unscrew the sun visor supports and remove those as well.
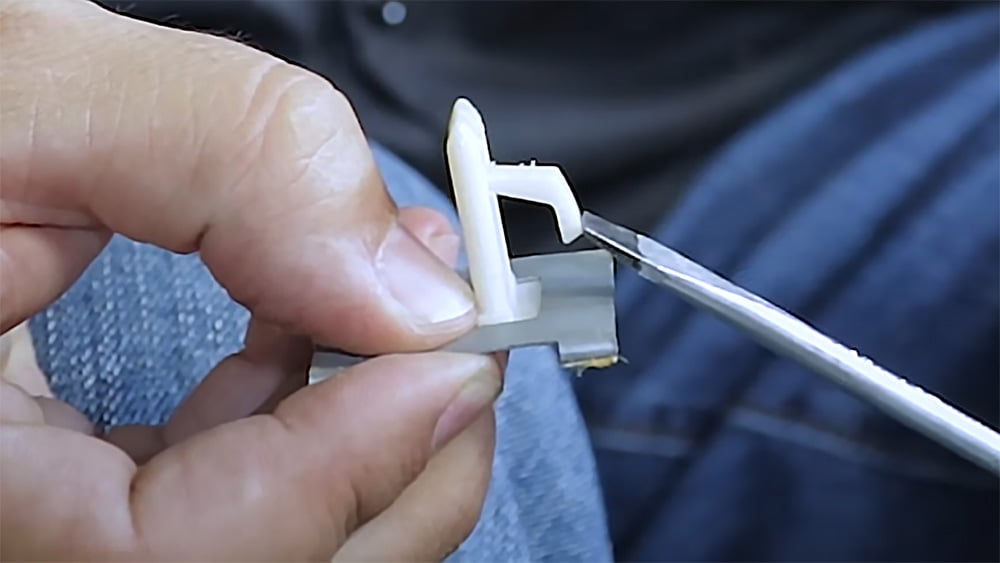
The front edge of the headliner is held in place by three T-shaped clips, so use a small screwdriver to press the tab on each clip and pop it out.
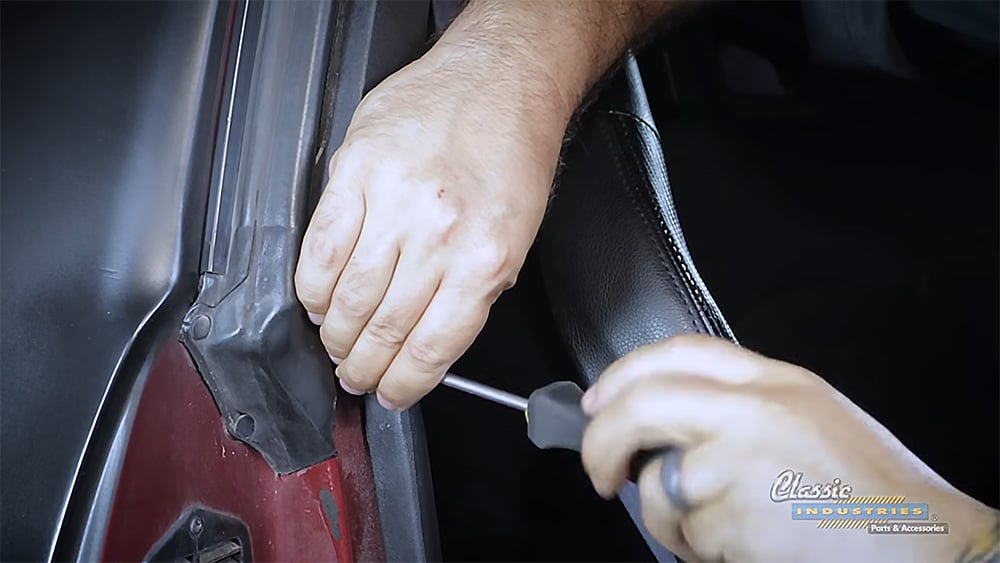
Remove the screw in the door jamb that holds in the trim around the door in place, then pop the door trim clips out, and remove the sail panels by pushing up and out to slide them out of position. If you break any clips, don't worry, you can get them here.
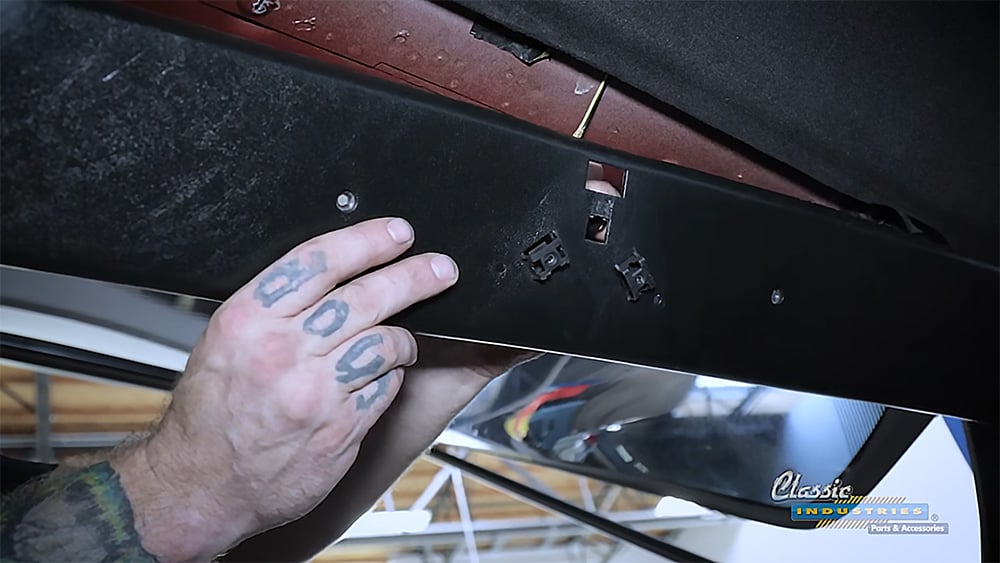
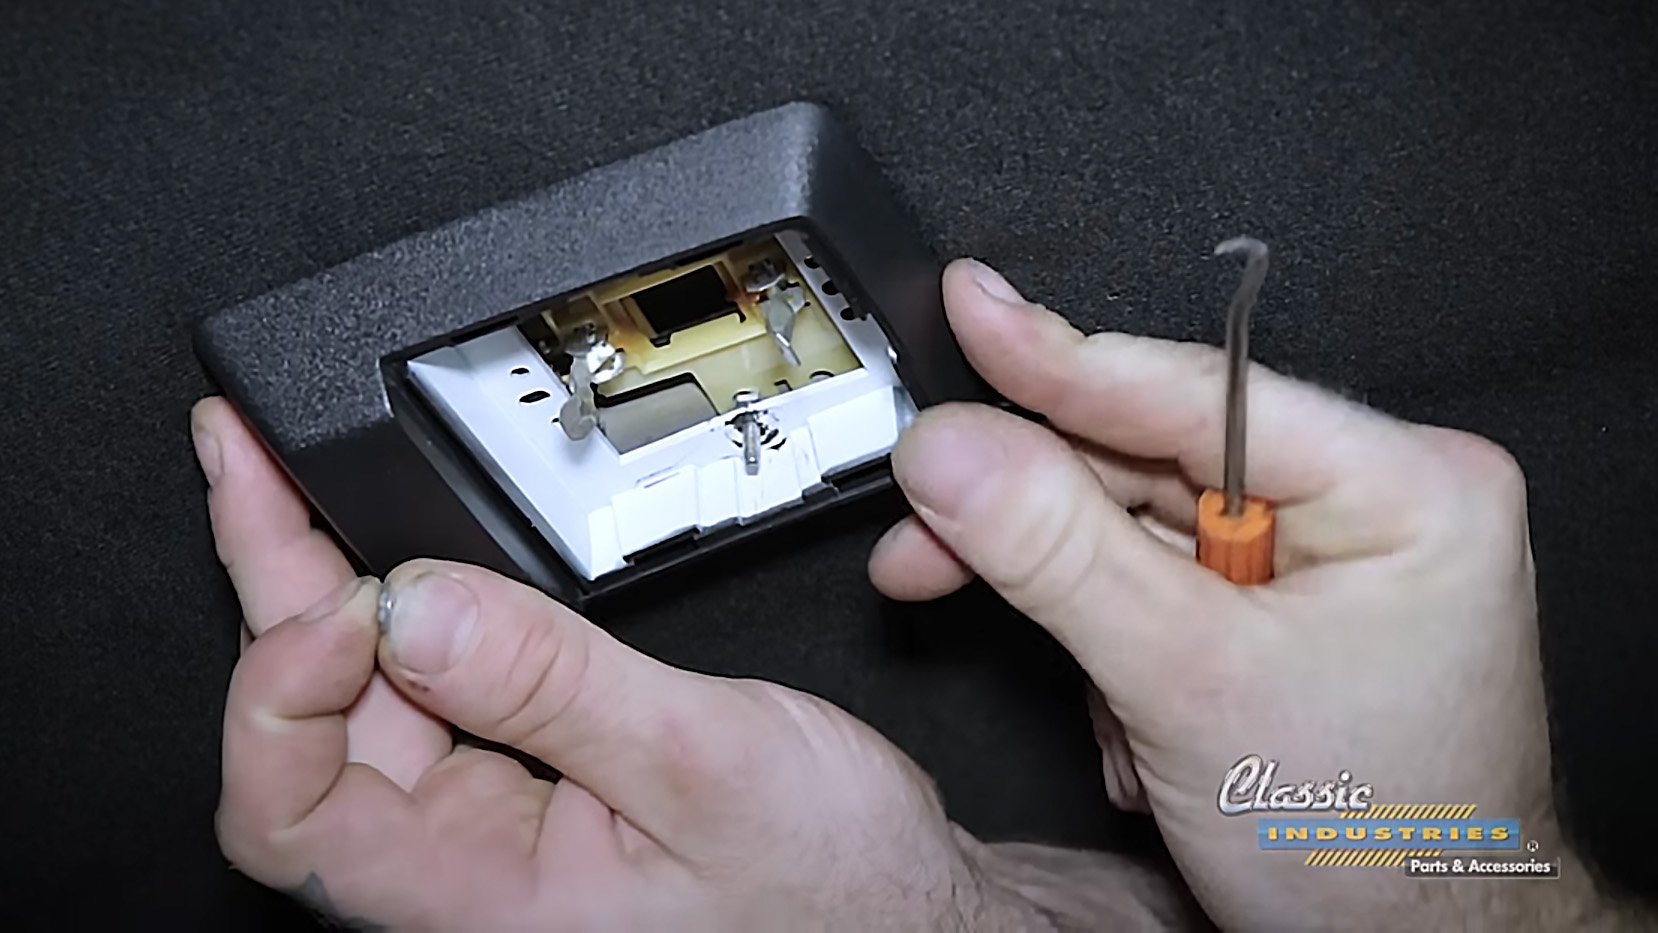
Remove the three screws on the trim panel at the rear of the headliner, and remove the third brake light assembly to free up this panel. Set it aside.
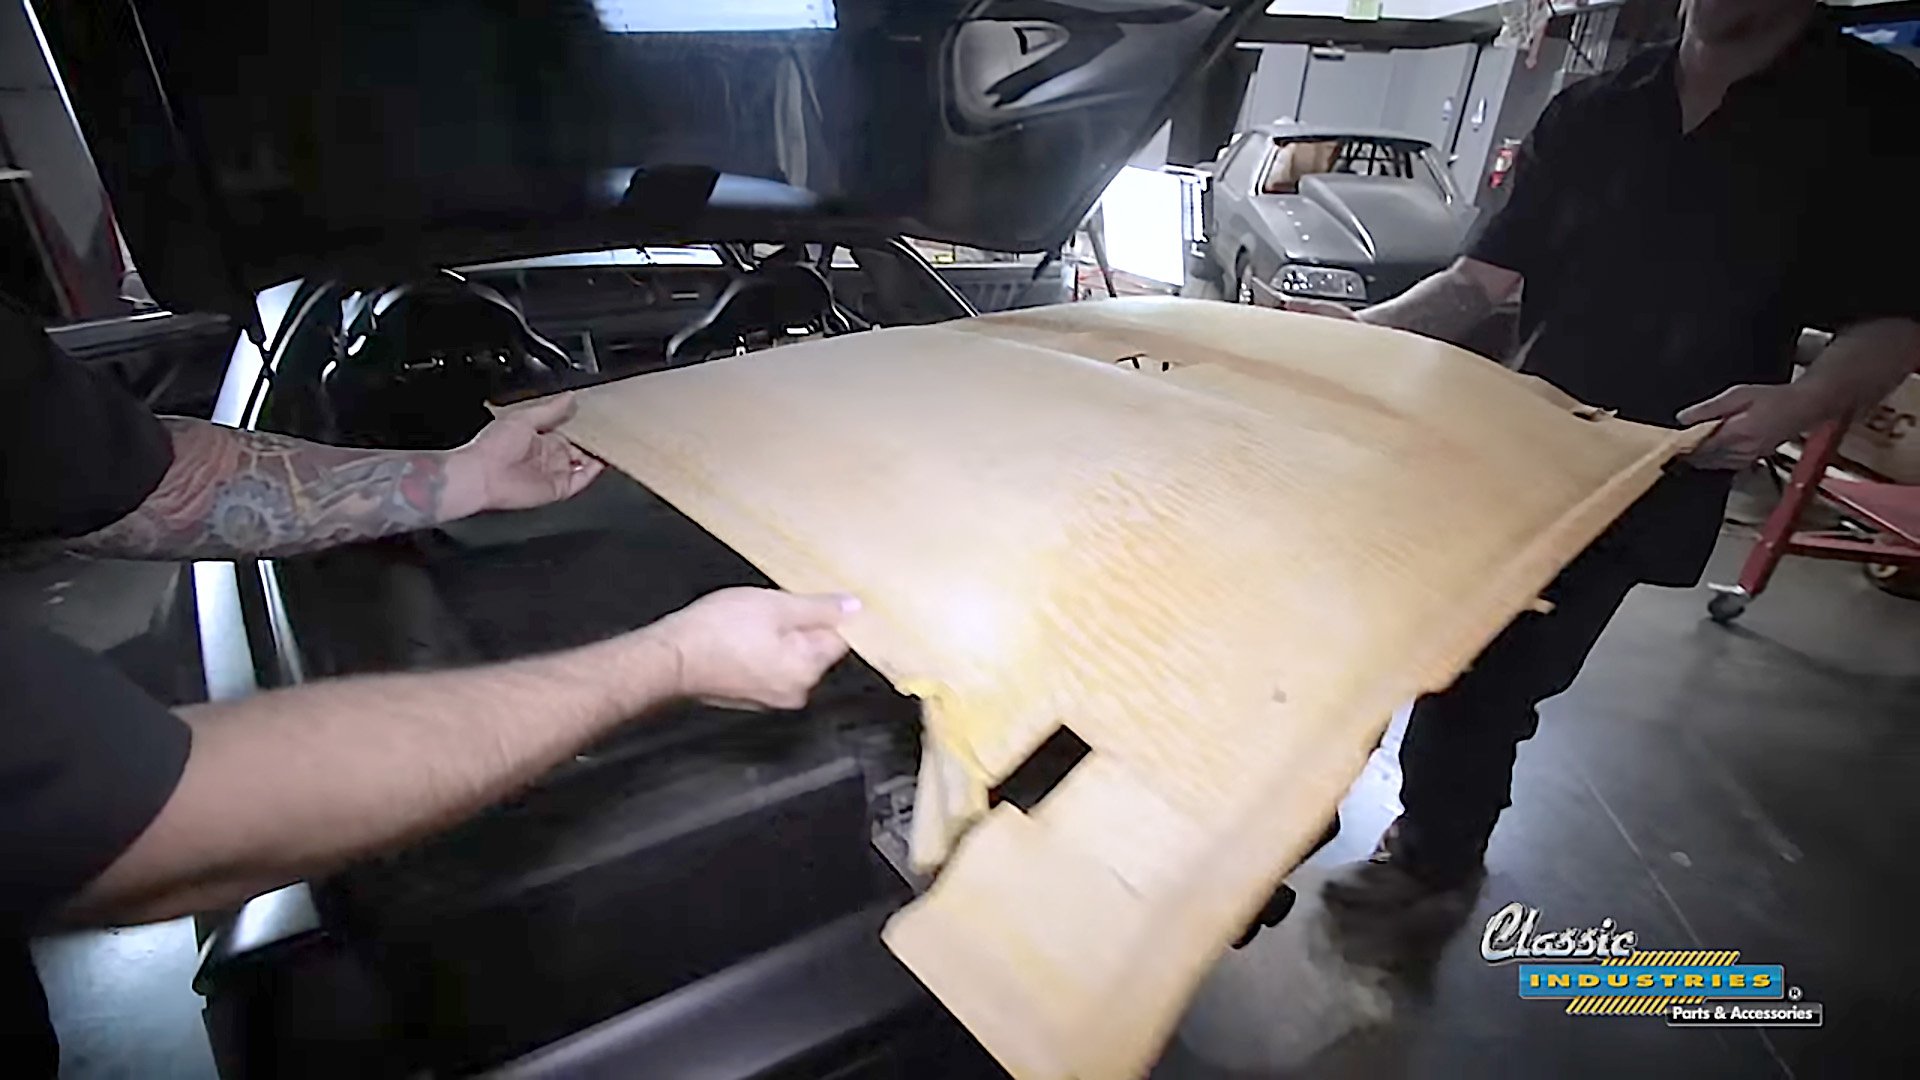
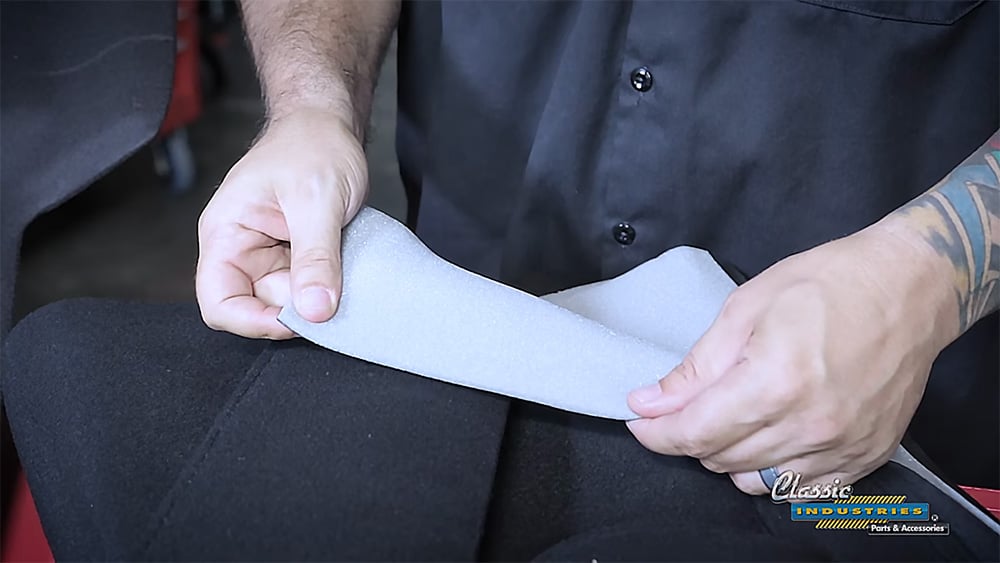
Now you can remove the entire headliner from the car. Inspect the headliner board if you plan to reuse it, and ensure there are no cracks or broken pieces.
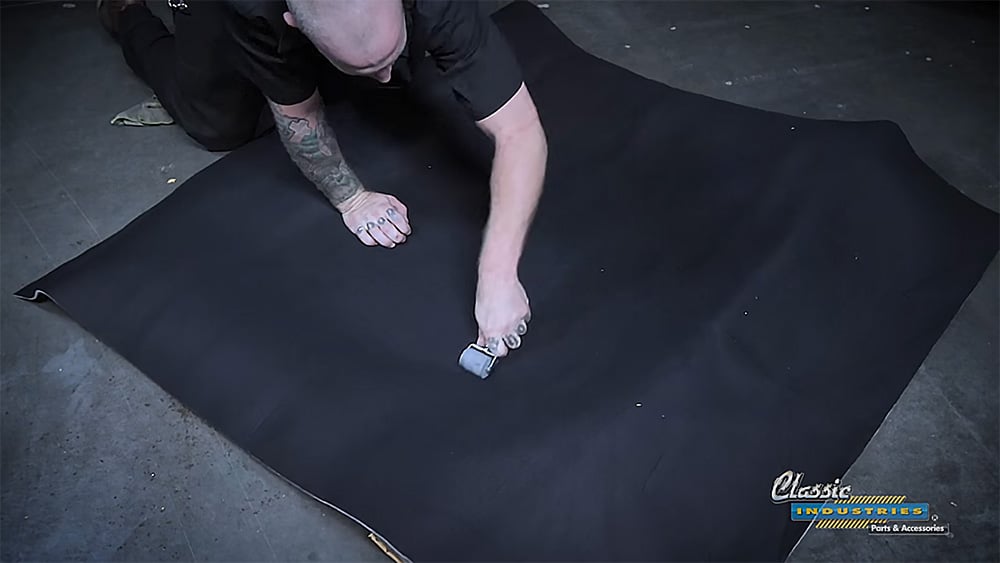
If your original headliner board looks OK, you can carefully peel away the original headliner cloth, and apply a thorough coat of headliner glue (or strong spray adhesive). Carefully lower the new headliner cloth onto the board, then apply pressure with a roller to adhere it to the board evenly, starting in the middle and working outwards.
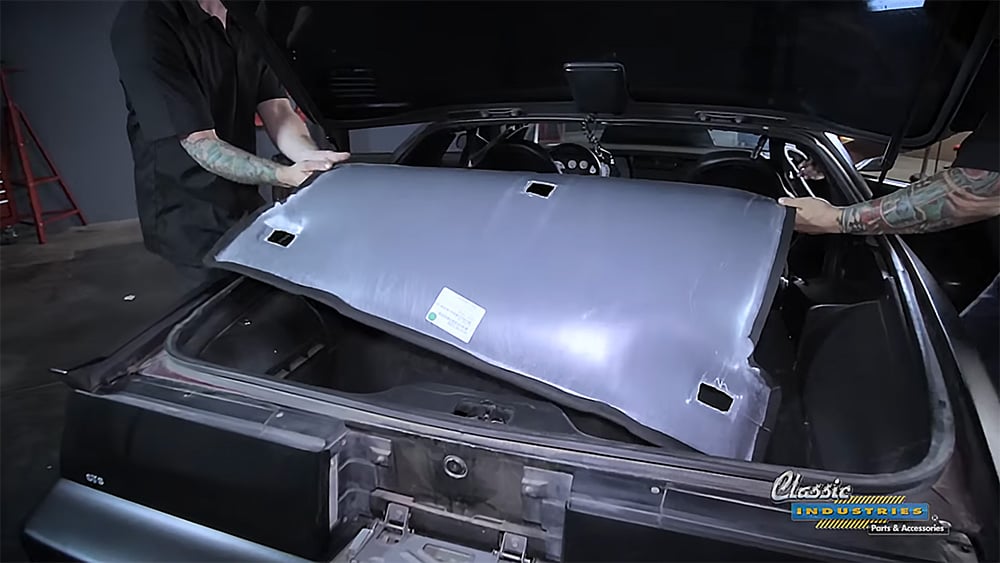
Whether you re-covered your original headliner board or bought a new complete headliner, now you can maneuver it back into the car, and reinstall it using the steps we previously mentioned (rear panel, side trim, front clips, visors, and finally the dome lamp).
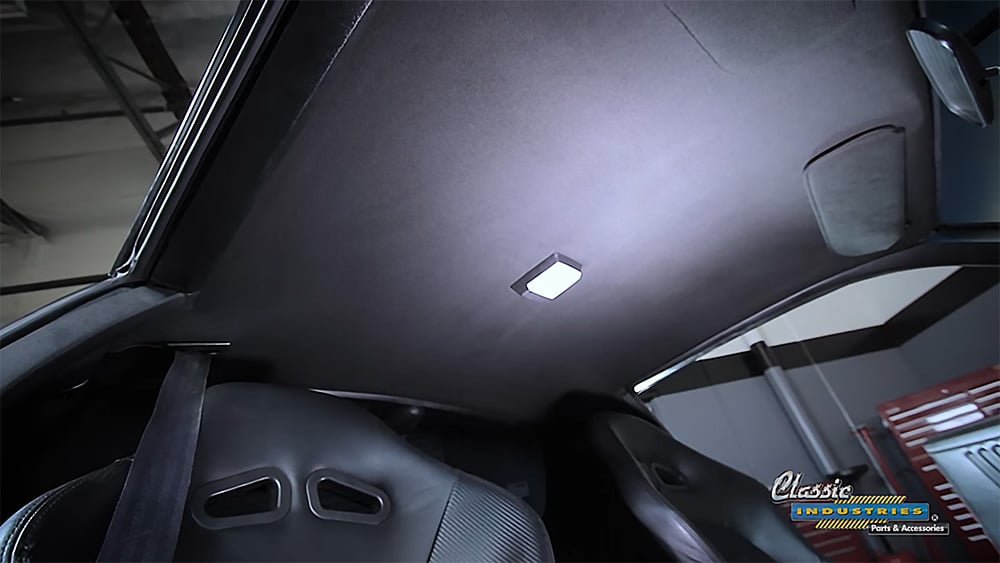
Once you've retraced your steps and reinstalled all the trim and headliner accessories, the interior of your Camaro or Firebird should be transformed! This simple item might be overlooked by anyone who walks by, but it makes a big difference once you're sitting inside the car.
If you're searching for restoration parts for your Camaro, whether it's a first-gen, second-gen, third-gen, or newer, look no further than Classic Industries. You can find what you need on our web store, call us with questions, or request a free full-color catalog by clicking the button below.

For more classic car restoration DIY guides, check out some of our previous articles below:
