

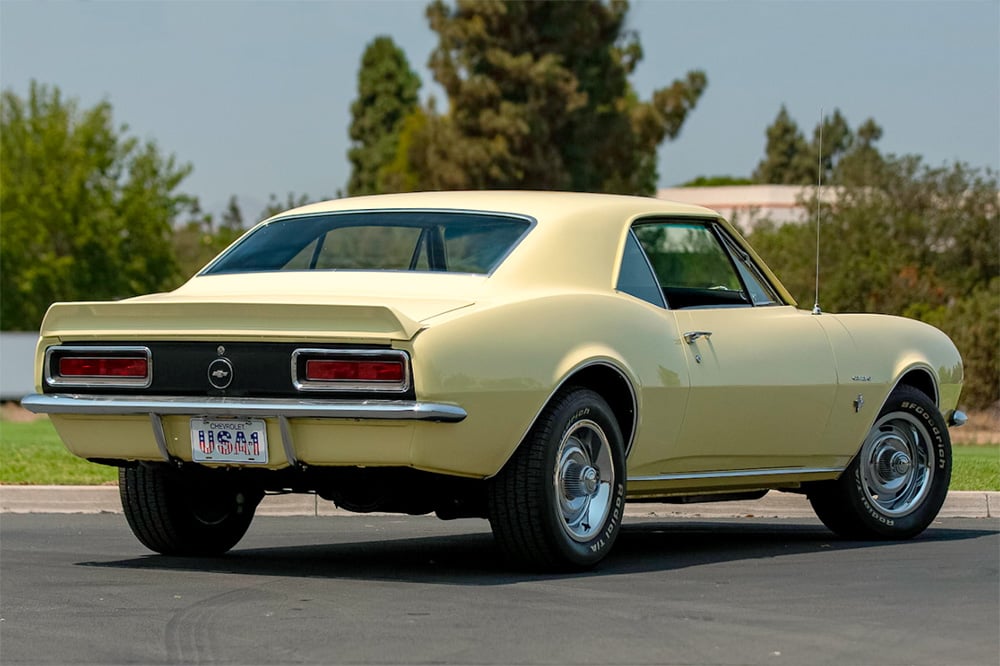
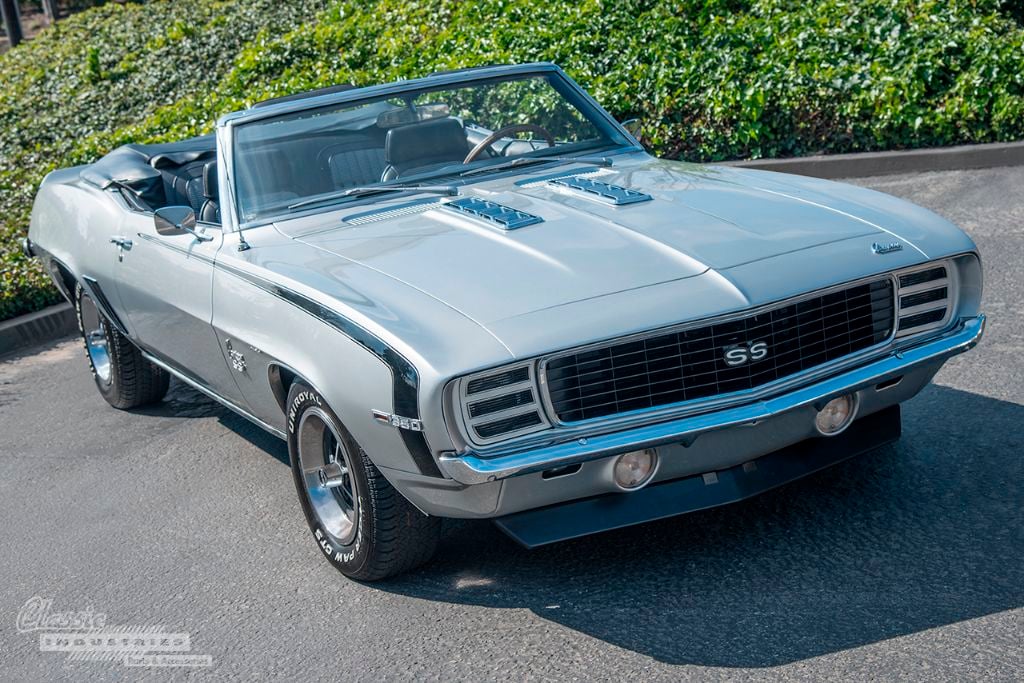
Last week on our blog, we created a DIY guide showing how to remove and replace the trunk lid on a first-gen 1967-1969 Camaro. Although it may seem like an easy job on the surface, getting it just right takes some finesse. Today, we'll take a look at a similar project that's usually performed along with trunk lid replacement or repair: installation of a rear spoiler. If you want it to fit and line up just right on your Camaro, there are some tricks to keep in mind.
The above photo is courtesy of Mecum Auctions.
1967-1969 Camaro Rear Spoiler Installation
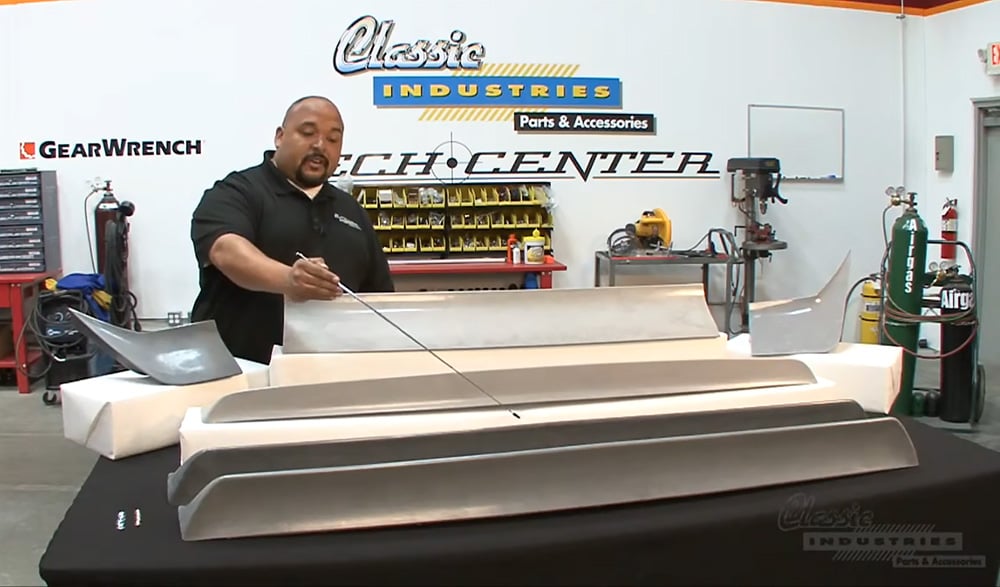
The "Part 2" video below is a continuation of the trunk lid replacement DIY video, both of which were recorded in our Classic Industries Tech Center. You can follow along with the video, or keep scrolling for a written explanation of the steps.
The car in this demonstration is an early 1967 Camaro, so Edgar selected a 1967-68 rear spoiler. Many enthusiasts wouldn't notice the difference, but 1969 models actually have a slightly different spoiler shape with an adjusted contour, so be sure to choose the correct part if you're going for a 100% factory-style restoration.
The Easy Way: Get a Pre-Drilled Trunk Lid
If you're already planning to replace the trunk lid on your Camaro with a new reproduction lid, and you know you're going to install a spoiler, then there's an easy way to save yourself some work. You can simply buy an OER pre-drilled trunk lid, part #152681. It fits 1967-1969 Camaro and Firebird models, and includes all the holes for attaching a spoiler — no measuring, marking, or drilling necessary.
Tools Needed for the Job
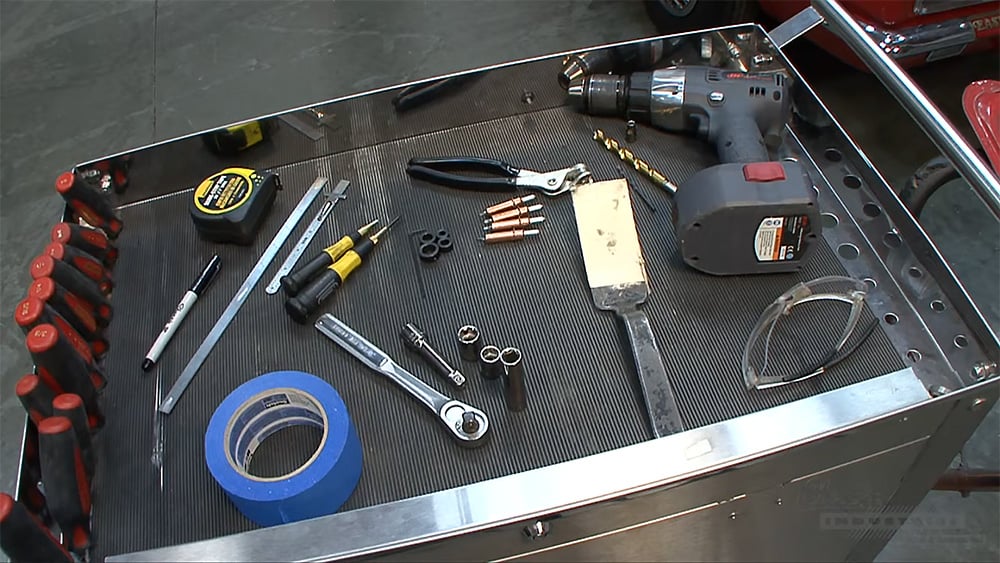
Most of the tools required for this job carry over from those in the trunk lid replacement DIY guide. Here' s a run-down:
- Painter's tape
- Various rulers, including one that's flexible
- Notepad and pencil
- Tape measure
- Fine-tip marking pen
- Ratcheting wrench and deep sockets
- Center punch
- Power drill
- 1/8" and 7/16" drill bits
- Drill stops (a socket can also be used, see tip later in this article)
- Flexible caulking strip
- Safety goggles
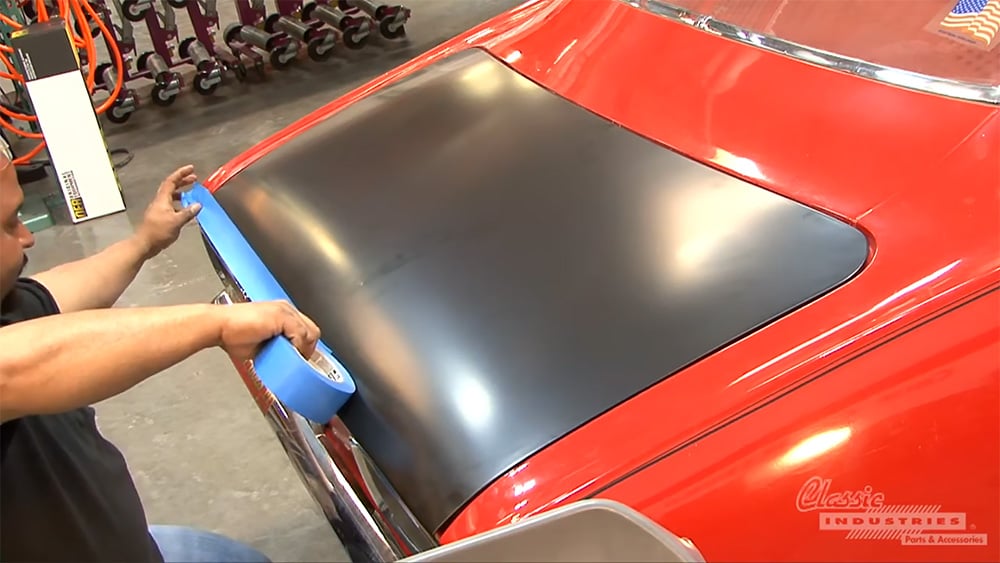
Measuring & Marking the Trunk Lid
The first step is to lay out some tape across the back of the trunk lid. This will provide a surface to mark before drilling holes, and will also protect the panel from scuffs and scratches as you work. Be sure not to use tape with strong adhesive, since it may peel away original paint or leave residue on the trunk lid.
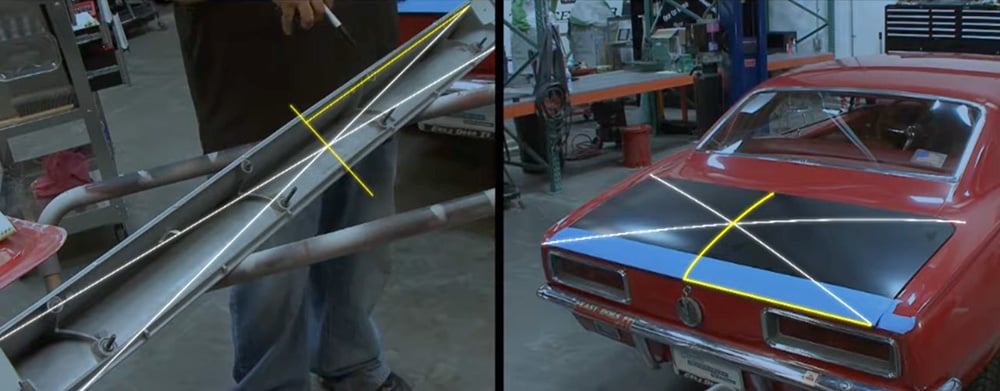
Next, you'll need to find the center line on the spoiler and the trunk to ensure both will line up. Measure carefully from each side of the spoiler and the trunk lid, checking twice for accuracy, and mark the center line with a marker.
Then, use your tape measure to check the distance between the center line and each post on the spoiler, recording these measurements carefully on a notepad. This information will be used to mark the post locations on the tape you placed on the trunk.
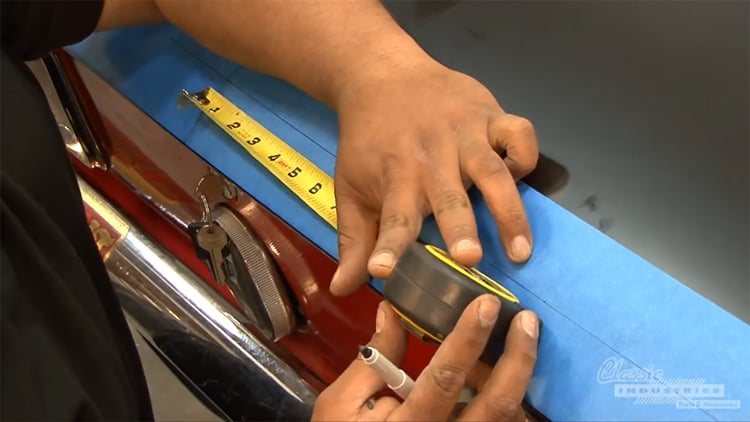
Once you've marked the center line onto the trunk lid, double check for accuracy. Then, you'll work out from that marking to indicate the post locations. The lower posts will be approximately 3/4-inch from the back edge of the trunk lid. It's very important that your marks are accurate! If they aren't, your spoiler may be crooked or offset to one side.
Drilling the Holes
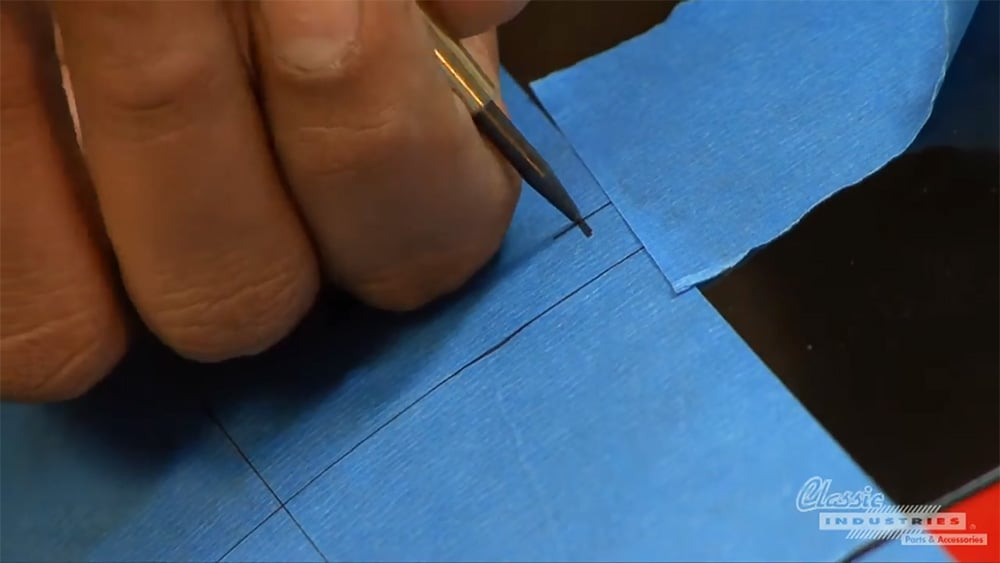
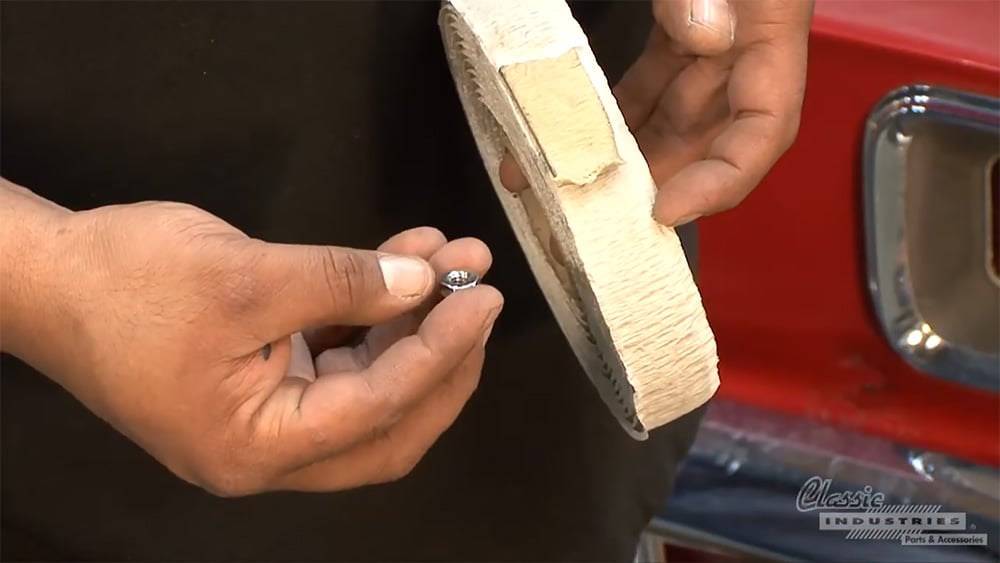
When you're confident that your marks are correct, make sure that the paint around them is protected with a layer of tape. Use a center punch to create divots at each mark, and prepare a 1/8-inch drill bit to drill pilot holes. It's strongly recommended to use a drill stop or socket to limit the depth of these holes so you don't accidentally drill through the other side of the trunk lid.

Above: A small socket is placed around the drill bit to limit depth and prevent over-drilling.
Once all the 1/8-inch pilot holes are drilled, switch to a 7/16-inch bit with another drill stop or socket, and enlarge each of the holes to the final size. Now you can peel away the tape and test-fit the rear spoiler on the trunk lid.
Attaching the Rear Spoiler
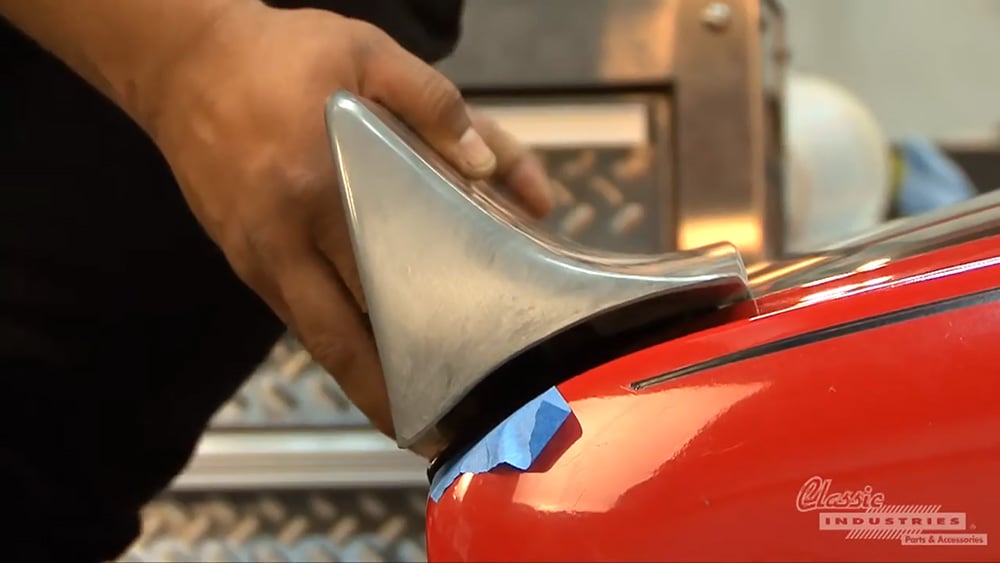
Hold the spoiler in place, open the trunk, and prepare to use the included hardware to secure it in place. The small acorn nuts go on the rear part of the spoiler, and the larger serrated nuts go on the longer studs towards the front of the spoiler. It's recommended to apply some caulking strip to each nut, since this will help seal the trunk against moisture and dirt seeping through the bolt holes.
When the rear spoiler is aligned, tighten all the nuts onto the studs until they're snug. Congratulations, you're done!
More DIY Restoration Articles
Want to learn more about how to restore your classic car? Here are a few of our previous do-it-yourself articles. We'll be publishing more of these in the future, so stay tuned!
- DIY Camaro Window Felt Replacement
- DIY Impala Steering Wheel Removal
- DIY Chevy Nova Dashboard Restoration
- DIY Battery Terminal Cleaning
Need Restoration Parts for Your 1967-1969 Camaro?
Classic Industries is your #1 source for restoration parts and accessories for the classic Chevy Camaro. We offer a huge selection of parts on our web site and through our free catalogs. Click the button below to get a free, full-color restoration parts catalog for your Camaro.