

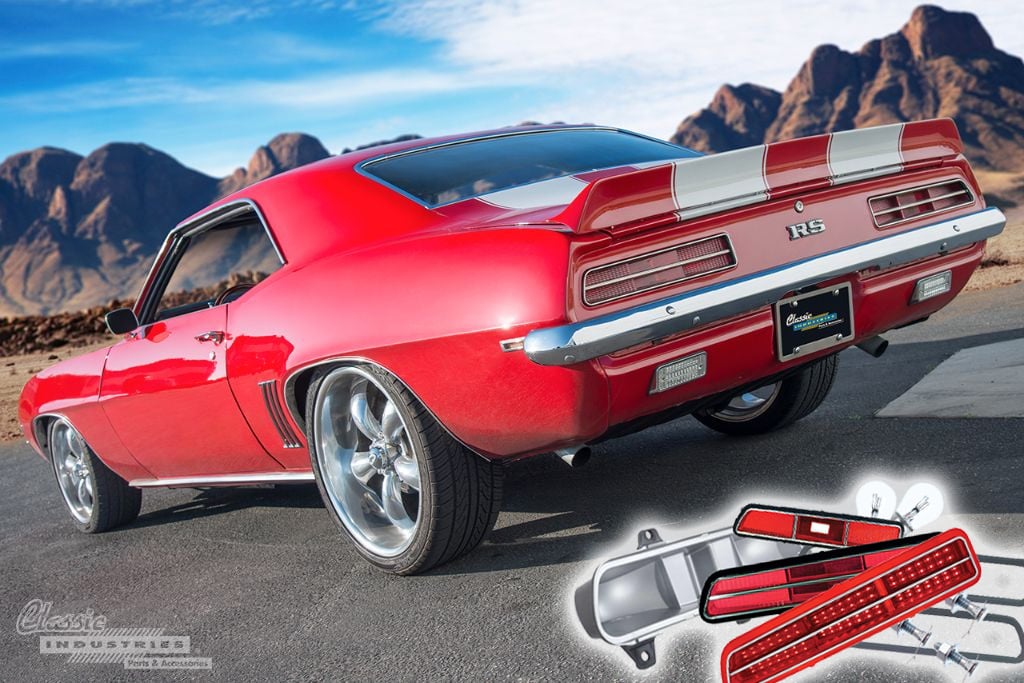
One nice thing about owning a first-generation 1967-1969 Camaro is the wide array of replacement parts available. You can buy original-style reproduction parts to restore your car to showroom condition, install a few subtle upgrades to modernize it slightly, or build a wild pro-touring car with the latest and greatest components. Today, we'll take a look at one easy upgrade that presents a few different choices: Camaro tail lights. First, we'll explain some of the replacement parts that are available, and then we'll show you how to install your new tail lights.
Tech Center Video: 1967-1969 Camaro Tail Lights
In the video above from our Classic Industries Tech Center, Edgar gives a quick overview of some of the options for replacing your first-gen Camaro's tail lights, and then shows how to install a set of new tail lights on a 1969 Camaro RS. Read on as we go over this in greater detail.
Choosing the Correct Camaro Tail Lights
You'll need five main components to replace your Camaro's tail lights completely:
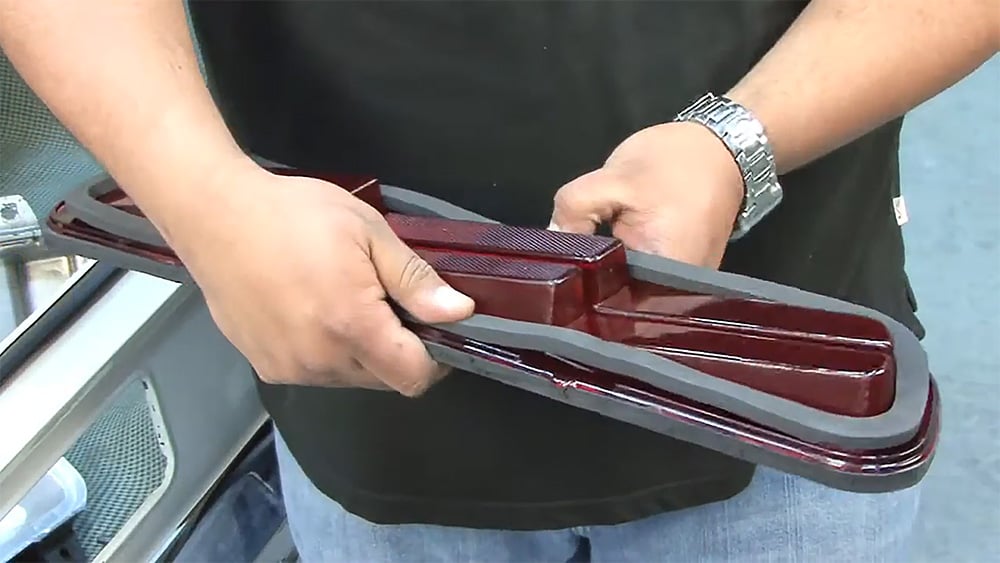
For most of these parts, you can simply enter your year, make, and model into the Classic Industries web site and choose the appropriate part number. However, it's important to remember that standard Camaro (non-RS) and Camaro RS models used different tail light designs. Here's a visual comparison:
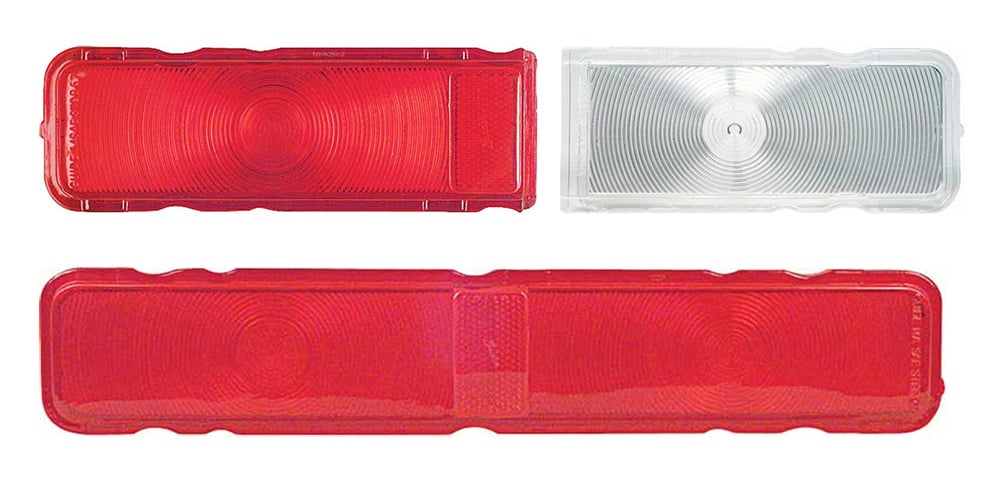
Above, you can see the lenses for a standard 1967 Camaro (top, with reverse light lens) and a Rally Sport car (bottom). The Rally Sport package moved the reverse lights to the lower valance panel, allowing the tail lamp to take up more room in the housing. The 1968 Camaro is similar, with two red lenses for RS models and one red lens with one clear lens for standard models.
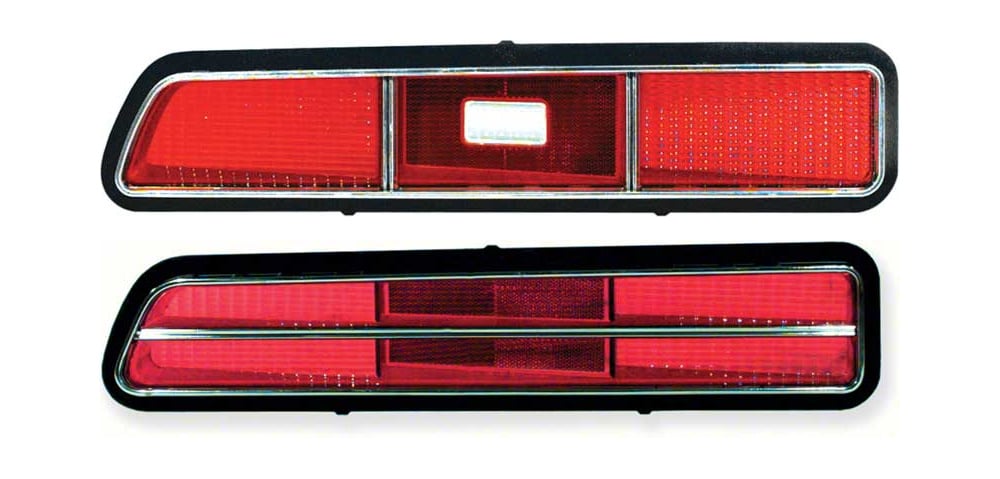
For 1969, the standard lens (top) and RS lens (bottom) are even more distinct. Notice the standard lens has a reverse lamp in the center, while the RS lens does not.
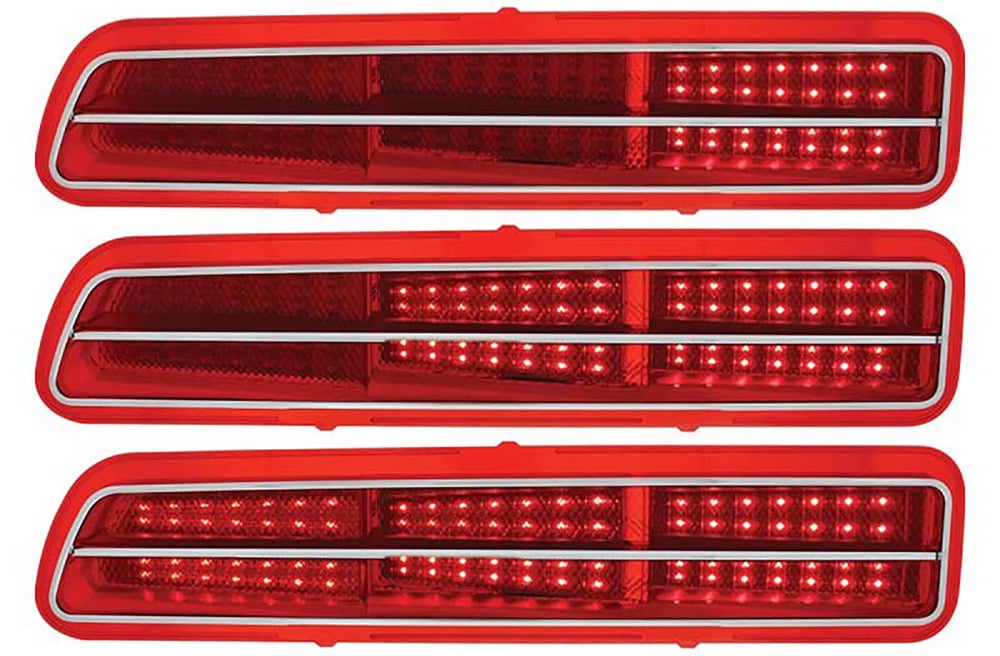
If you're looking for a modernized appearance, you can select one of our LED tail lamp assemblies. Some models feature built-in LED circuit boards with selector switches that toggle sequential illumination of each section of the light. If you simply want more brightness and lifespan from your existing tail lights, consider adding some drop-in LED bulbs or LED conversion circuit boards.
DIY Camaro Tail Light Installation
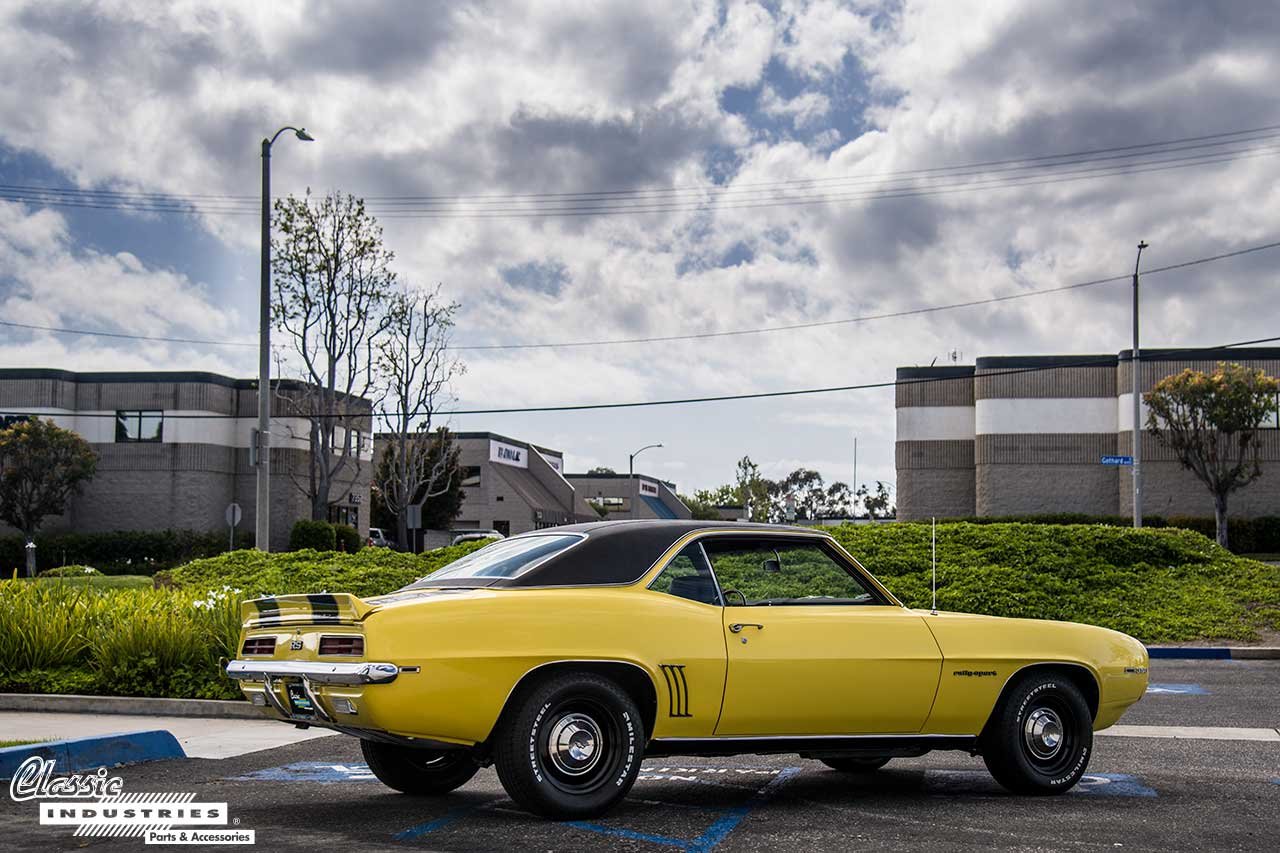
Once you've purchased the appropriate Camaro tail light lenses, housings, gaskets, and bulbs, as well as any replacement mounting hardware you might need, it's time to install your new lights. For this demo, we're working on a 1969 Camaro RS.
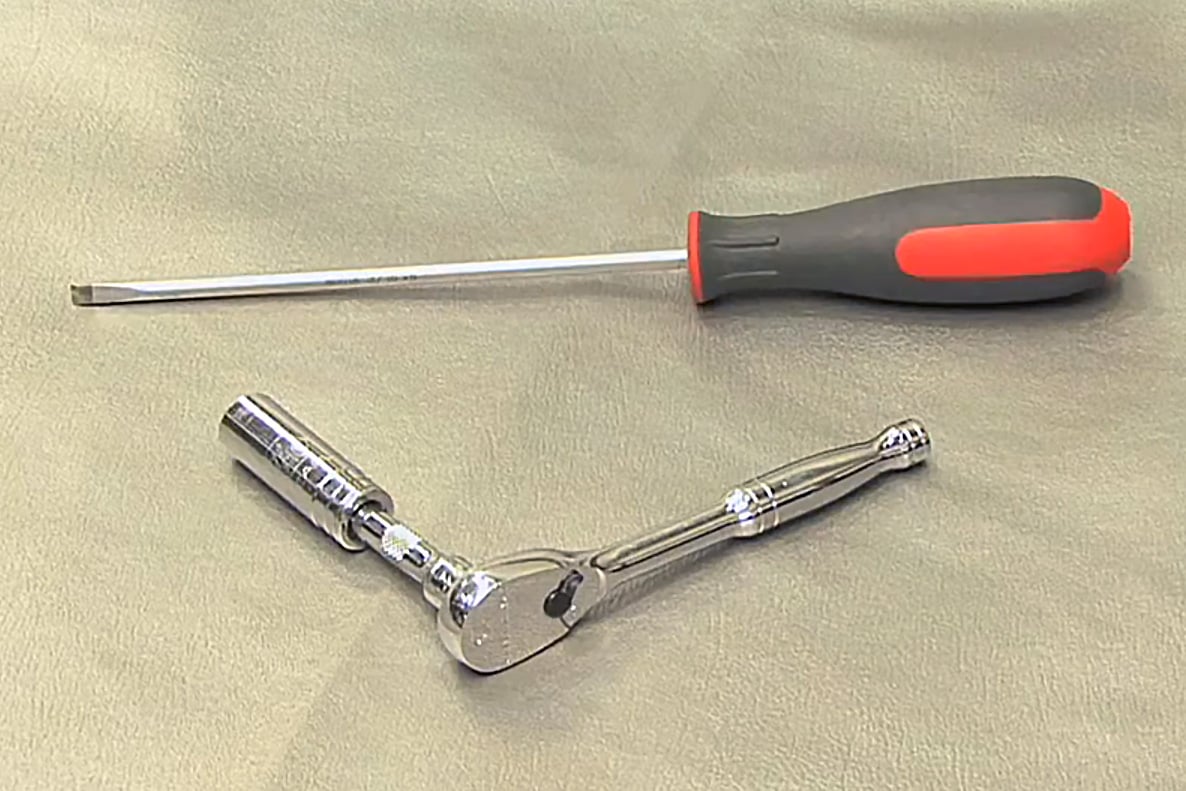
All you'll need for this DIY project is a 1/4" ratcheting wrench, a small extension, a 7/16" socket, and a flat screwdriver.
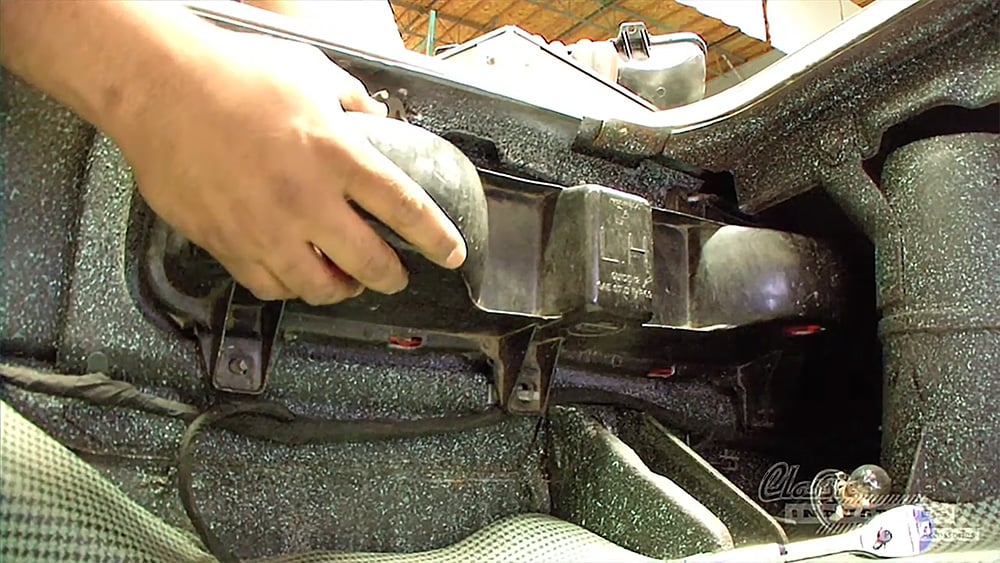
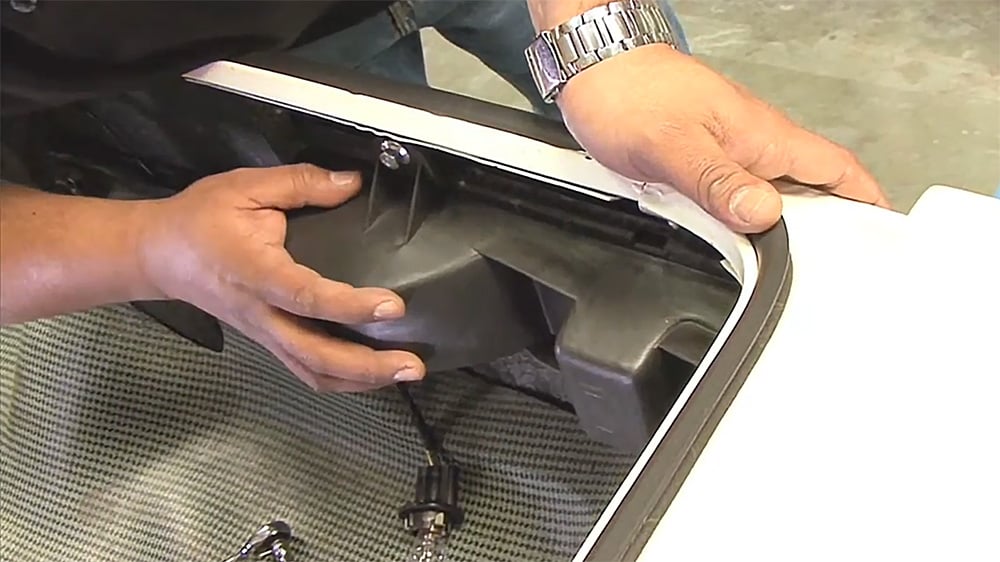
Use the ratchet and 7/16" socket to remove all five retaining nuts from the back side of the tail lamp housing, and set them aside. Also, twist and remove the bulb sockets from the housing, and place them out of the way.
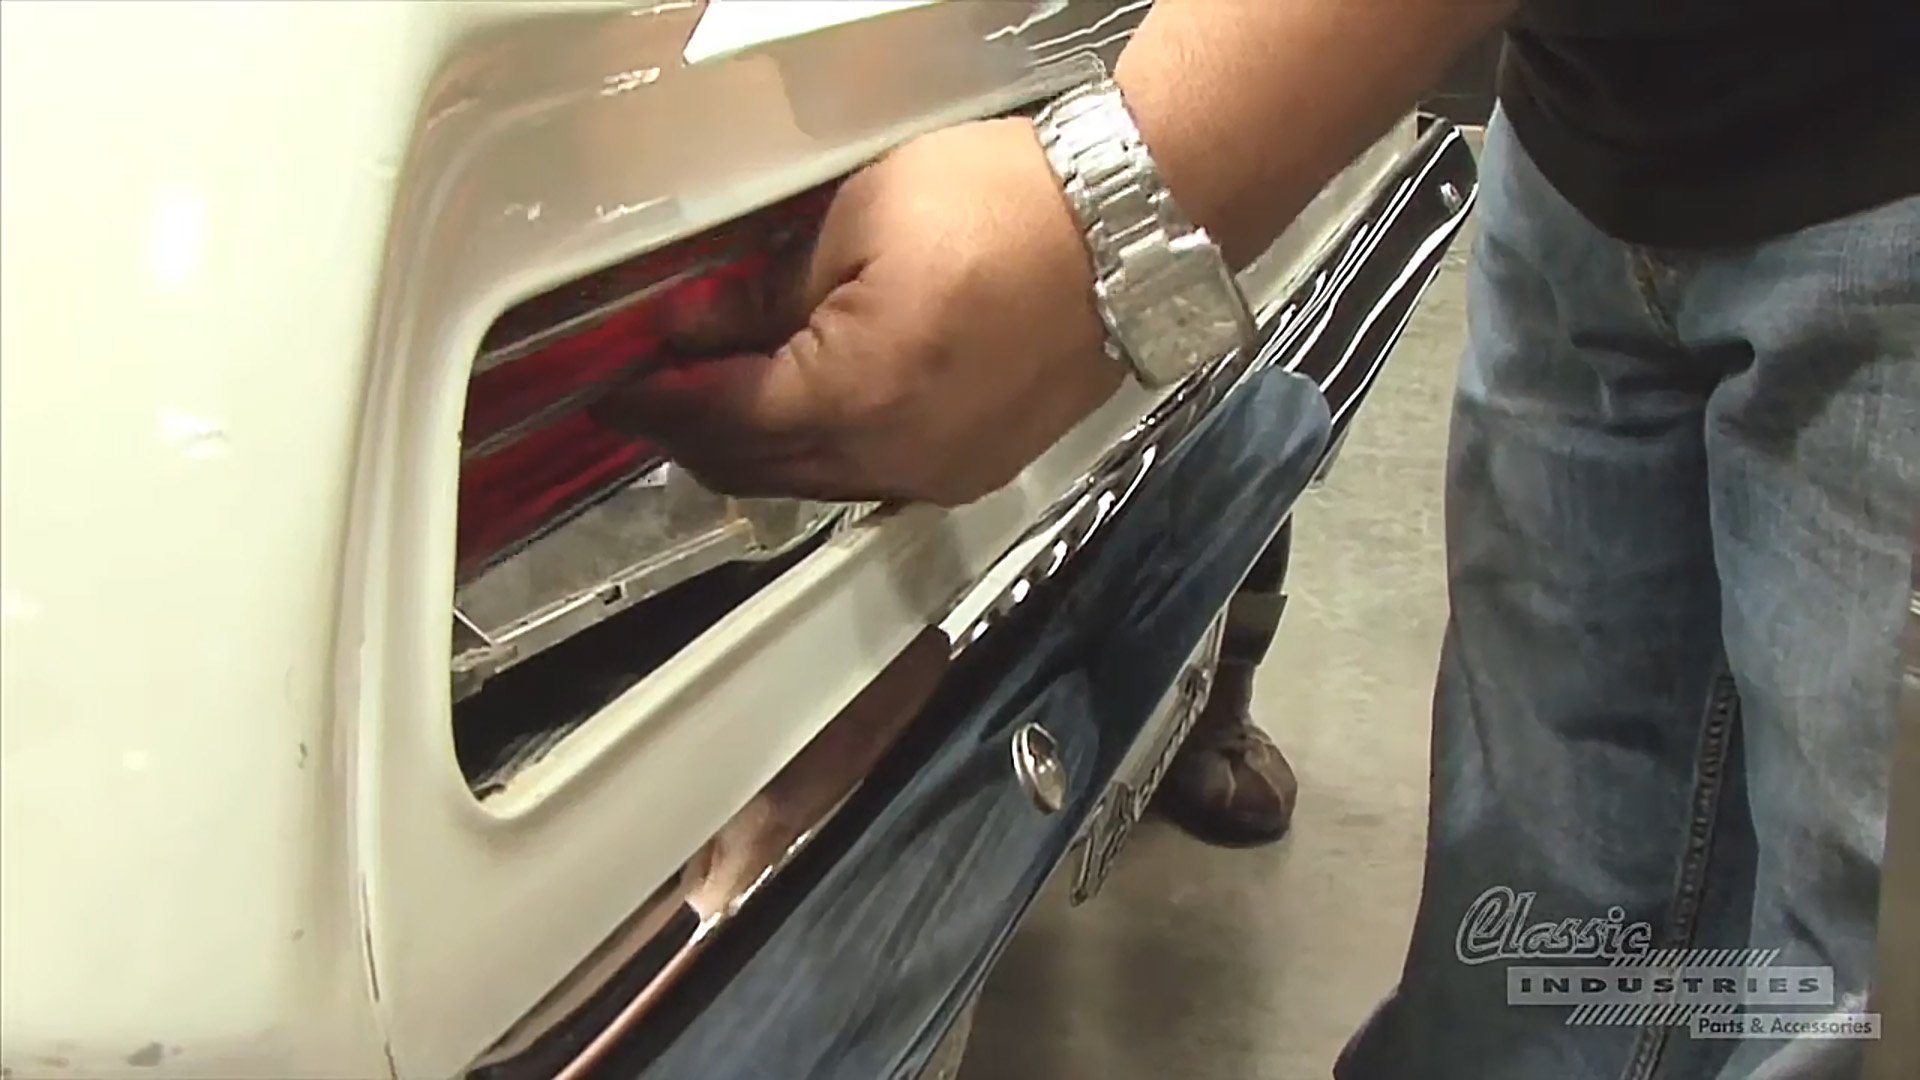
Once the housing is removed, the lens may remain adhered to it. If it doesn't come out with the housing, it can be pushed inward and removed from the tail panel separately.
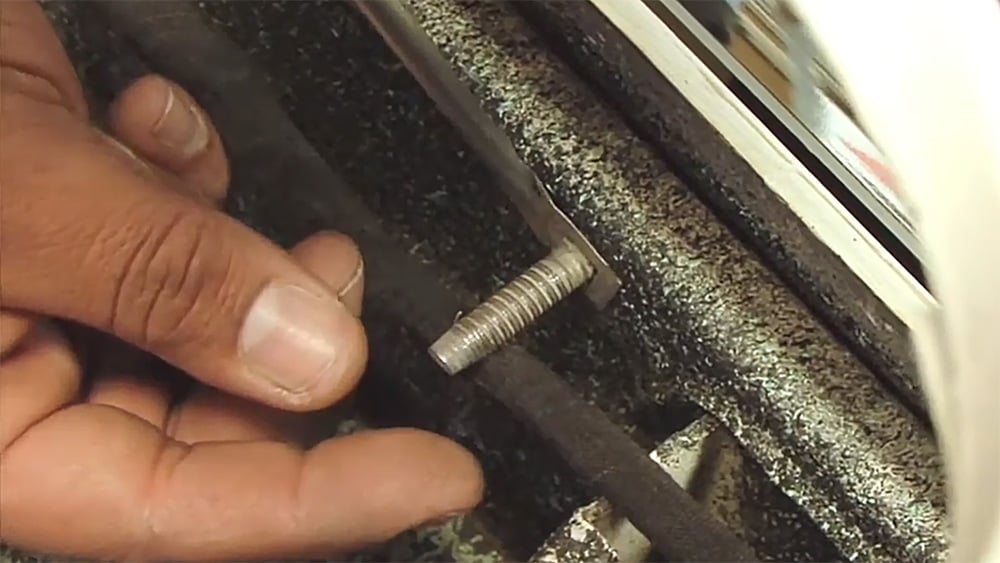
If you're replacing the hardware, you can use a flat screwdriver to pry up on the retaining tab next to each stud, then slide the stud laterally to remove it. Classic Industries' replacement tail light hardware installs the same way, and includes matching nuts.
A few small pieces of double-sided tape can be used to hold the tail light gasket to the lens. Then align the tabs on the bottom of the lens with the matching slots on the housing, and snap the assembly together.
Install the complete tail light housing from the back of the rear panel, aligning it with the studs, and finger-tighten nuts onto each stud to hold it in place. Once you're satisfied with the placement of the light, use your wrench to tighten the nuts gradually until they're all snug. Then reinstall the bulbs, twisting to lock them into the housing.
Congratulations, you're done! Enjoy your new Camaro tail lights.
Need More Camaro Restoration Parts?
Since the company's start in 1976, Classic Industries has been offering restoration parts for the Camaro, and our selection has grown with each passing year. Check out our web store to browse for any parts you might need, or click the button below to get a free full-color Camaro restoration parts catalog.