

"Get used to my tail lights, because they're the only thing you'll be able to see in this race." This bit of friendly trash talk has been used in the muscle car community for as long as we can remember, but there's more truth to it than the joke implies. Whether it's in traffic or on the drag strip, the rear of your vehicle is often the first and last thing people see. So, it makes sense to keep it looking good. Knowing this, the guys at All Chevy Performance recently restored the bumper and tail panel on their '77 Nova project car with parts from Classic Industries.
1977 Nova Rear Bumper, Tail Lights, & More

The original condition of ACP's '77 Nova was pretty rough. One filler panel was missing, others were damaged, and the tail lights were transplanted from a trailer. So, they set out to restore it to original condition.

The center filler panel was missing, and although the corner pieces looked OK, their chalky finish would resist bonding with paint. All three panels would be replaced with new fiberglass from the Classic Industries Nova catalog.

After loosening the eight retaining nuts, the rear bumper was removed and set aside. It's in good enough condition to be reused.

Each corner filler piece has a steel inner structure, which was pried off and reused by the All Chevy Performance team. The license plate bracket was also removed.

The center bumper filler panel is intended to be trimmed to fit, so the ACP team held it in place and marked it carefully.

Excess material was trimmed off using an angle grinder. Then the panel was test-fitted again and marked for mounting holes using a permanent marker.

Once the holes were drilled, the filler panel was secured to the Nova using 1/4-20 nuts and bolts.

Next, the trailer taillights were replaced with original-style reproduction taillights from Classic Industries. These Nova light assemblies include the inner plastic housings, lenses, rubber gaskets, and outer chrome bezels.
The corner filler panels were attached to the steel inner panels, sprayed with gray primer, and bolted onto the body and center filler panel. Then, with some help from family members, the bumper was lifted into place and bolted onto the car.

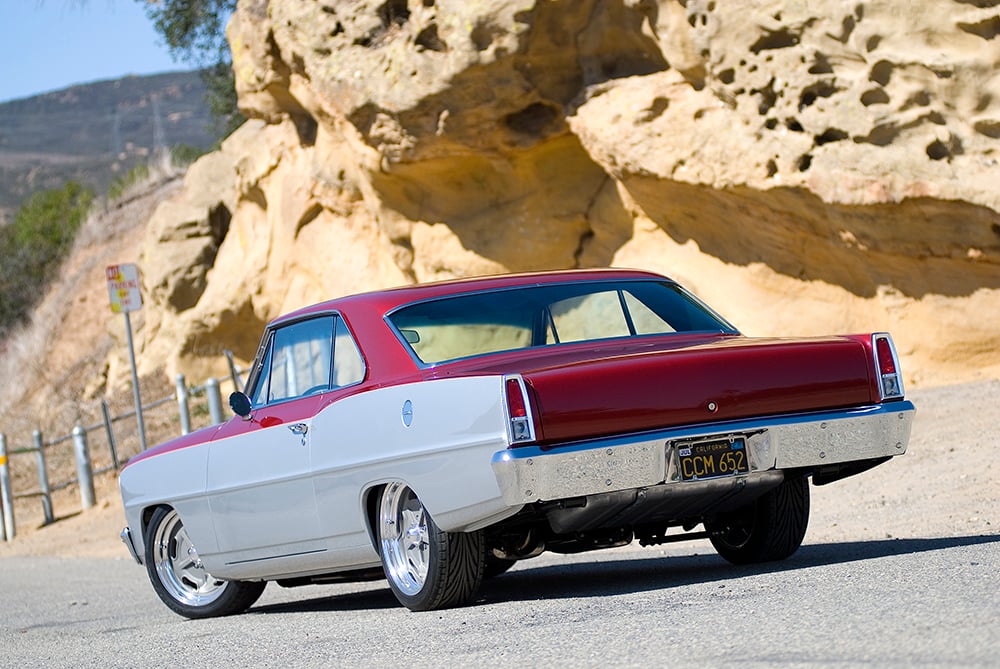
Although this '77 Nova's other panels still have plenty of rusty patina, the restored rear bumper and lights dramatically improved its appearance. And with a nicely-built V8 under the hood, this Nova will be able to show off its new rear end to any challenger.
For more photos and installation tips, check out the full article from the latest issue of All Chevy Performance.
Looking for Chevy Nova Parts?
If you own a classic Chevy II or Nova, Classic Industries can help you find all the parts you need to restore it. We offer thousands of parts for 1962-1979 Chevy II/Nova models! Browse our complete parts selection online or click the button below for a free full-color Nova restoration parts catalog.