

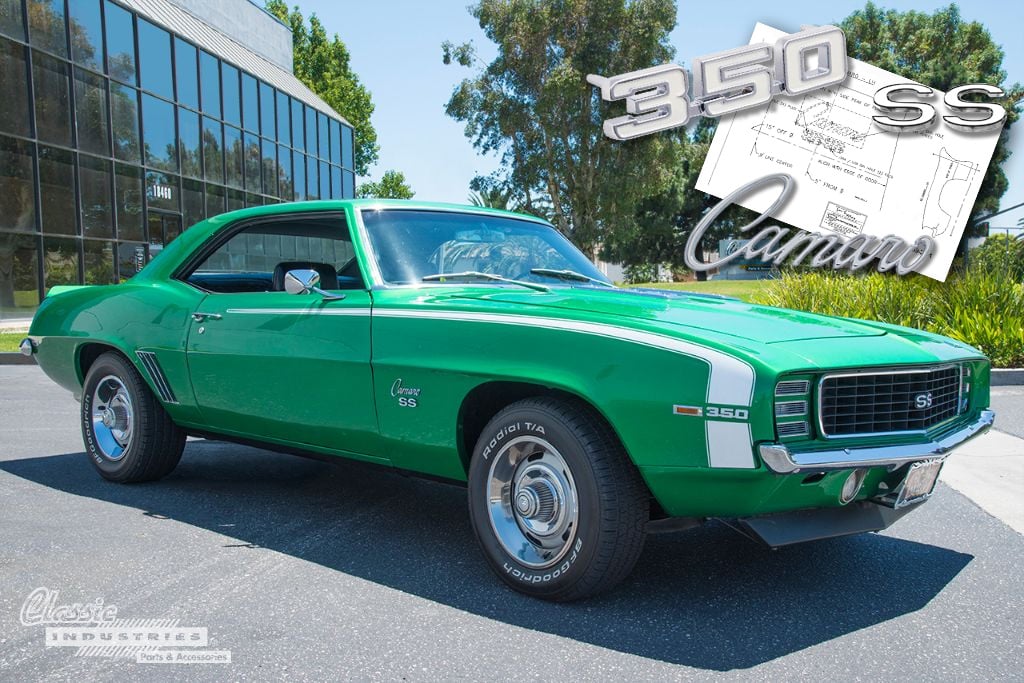
One of the important finishing touches to any classic car restoration project is installation of exterior emblems. Just like the cherry on a sundae, they add a bright visual element that makes everything else look even more appealing. However, getting these exterior emblems just right can be tricky. It's easy to misalign or misplace an emblem if you're eyeballing it. That's why Classic Industries offers convenient paper templates that match our emblems. Read on as we show you how to use our templates to install fender emblems on a 1967-69 Camaro.
Camaro Fender Emblem Installation
The following video from the Classic industries Tech Center shows the step-by-step process for installing reproduction emblems on a first-gen Camaro. It begins with a discussion on which emblems you might choose for your project, including adhesive-backed emblems that don't require drilling. Classic Industries even offers original-style displacement emblems as individual digits, so you can mix and match to represent almost any engine size.
Emblems can be purchased individually, or as complete exterior emblem sets that include hardware.
If you're going for an original-style restoration and installing a new set of fenders, you'll need to drill some holes before installing your emblems. Although it's possible to get the locations right on both fenders with careful measurements and markings, it's much easier if you use a set of the paper templates we offer. Just be sure to select the correct template for your Camaro's year, trim level, and engine displacement.
Recommended Tools
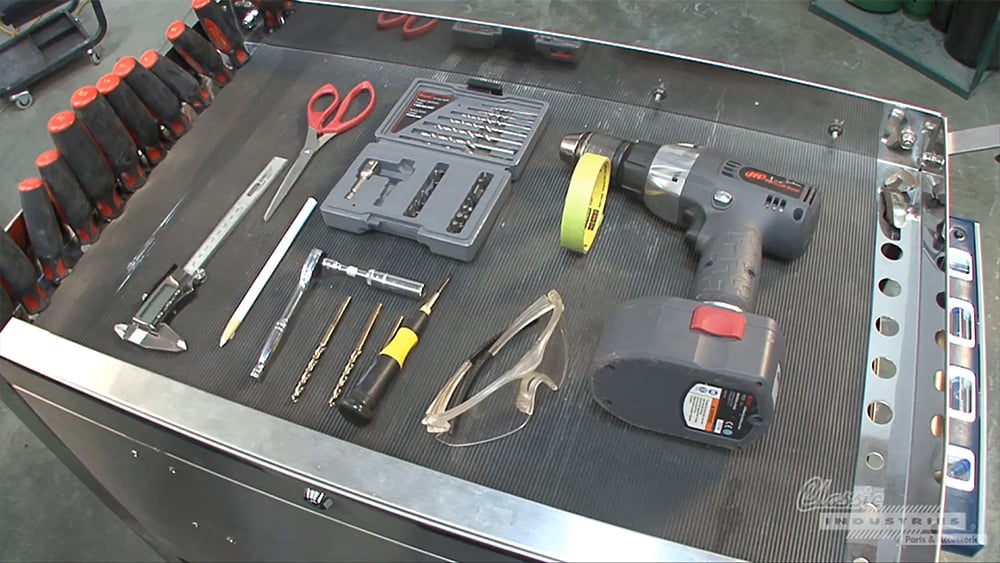
Here are the tools you'll need for fender emblem installation:
- Power drill with drill bit set
- Safety glasses
- Masking tape
- Center punch
- 1/4" ratcheting wrench with socket set
- Marking pencil
- Scissors
- Calipers
Camaro and SS Emblem Installation
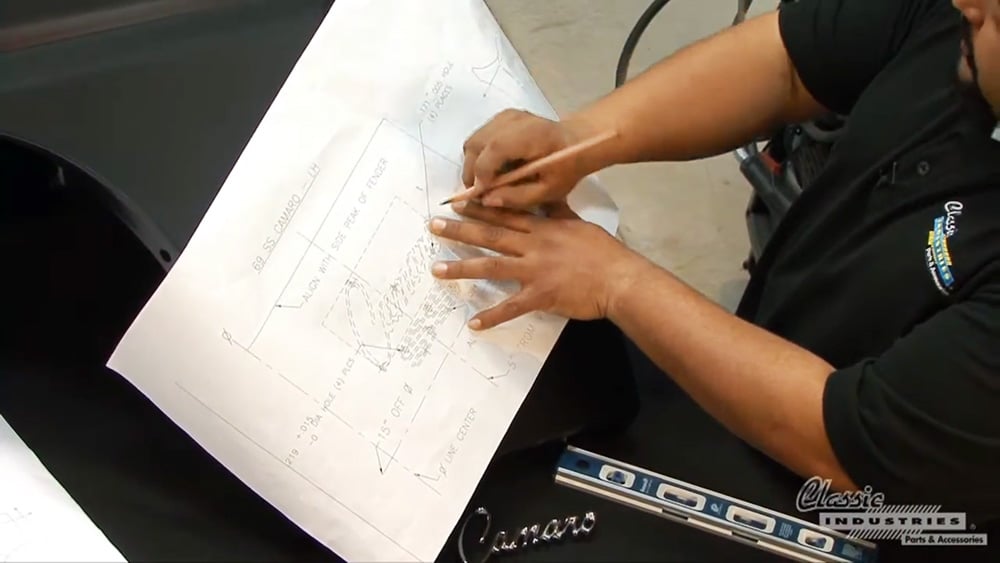
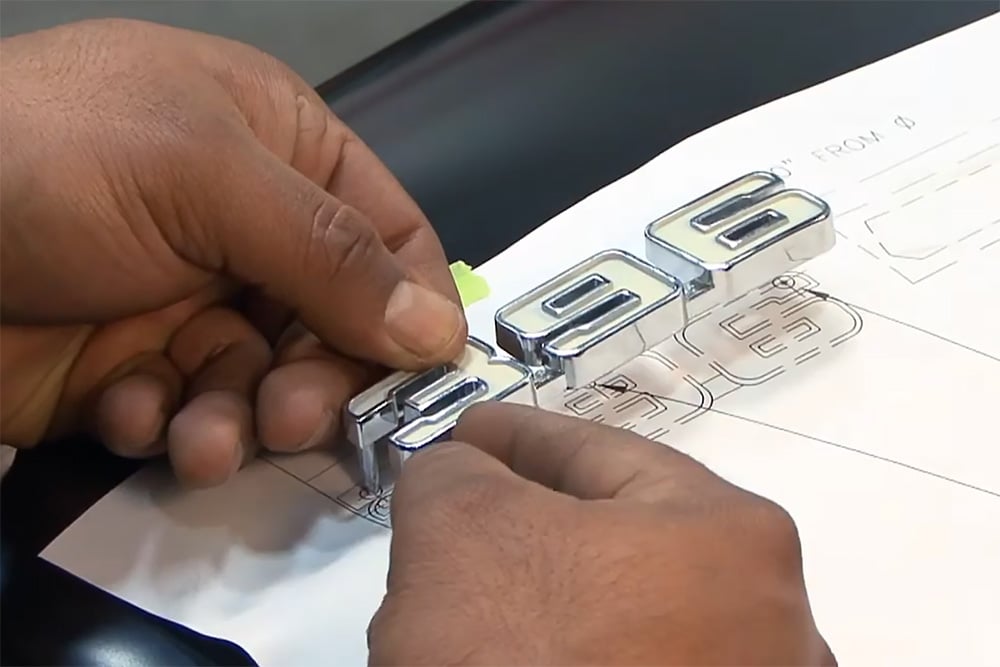
Edgar began the task with a set of Camaro SS 396 templates. The first step will be to cut out the templates along the indicated line, but first, make sure to write down any important information written outside that line (such as the hole diameter). Then, carefully cut along the lines to trim off the excess paper.
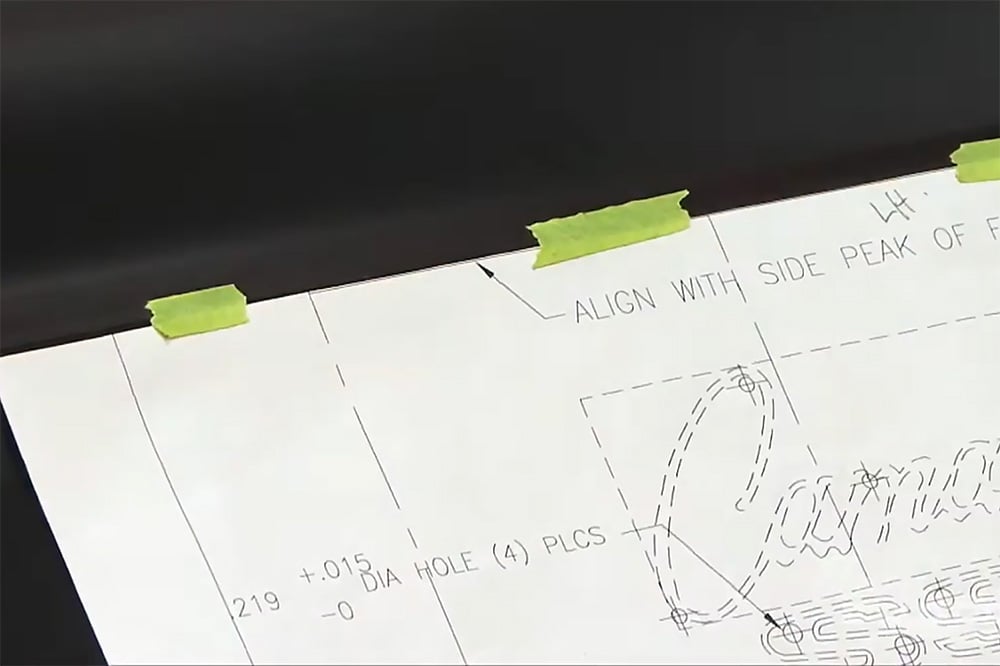
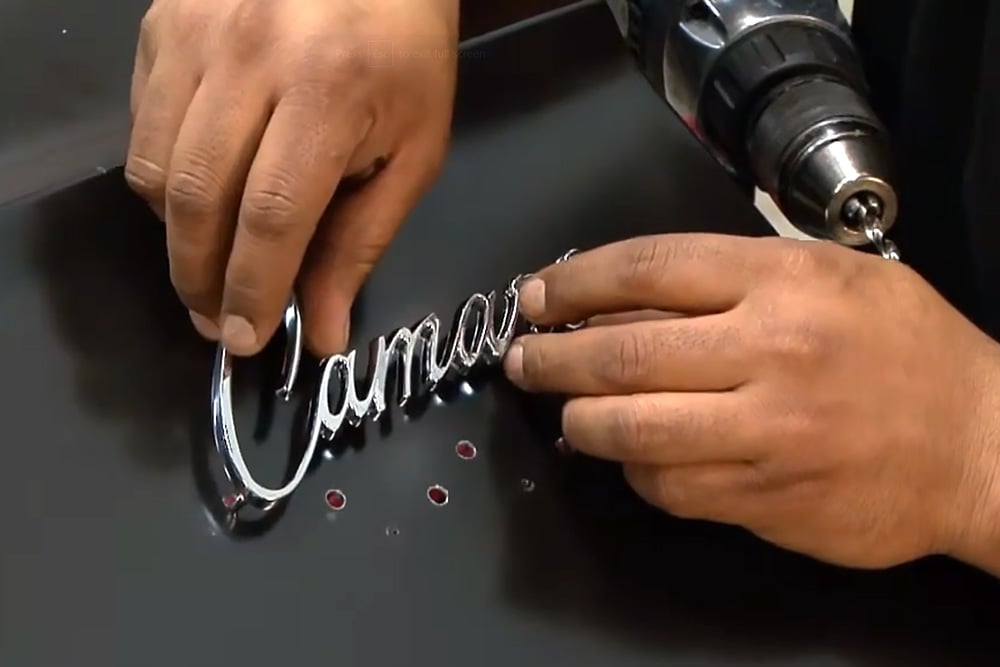
Next, align the template with the peak of the fender contour and the fender's rear edge, and tape it in place when you're sure it's in the right spot. Step back and make sure it looks straight and true. Once you're certain, take a center punch and mark each of the indicated hole points with a center punch.
With a 1/16" drill bit, drill some pilot holes carefully in each punched location. Then enlarge the holes to the indicated size. In this case, it's 0.171" which equates to an 11/64" drill bit.
When all the holes have been drilled, remove the template and check the emblems for fit. The lower SS emblems have a wider edge that faces down, and a narrower edge that faces up. Smaller guide locating pins are not present on some aftermarket emblems; these were originally used to prevent factory workers from accidentally installing the emblems upside-down or reversed.
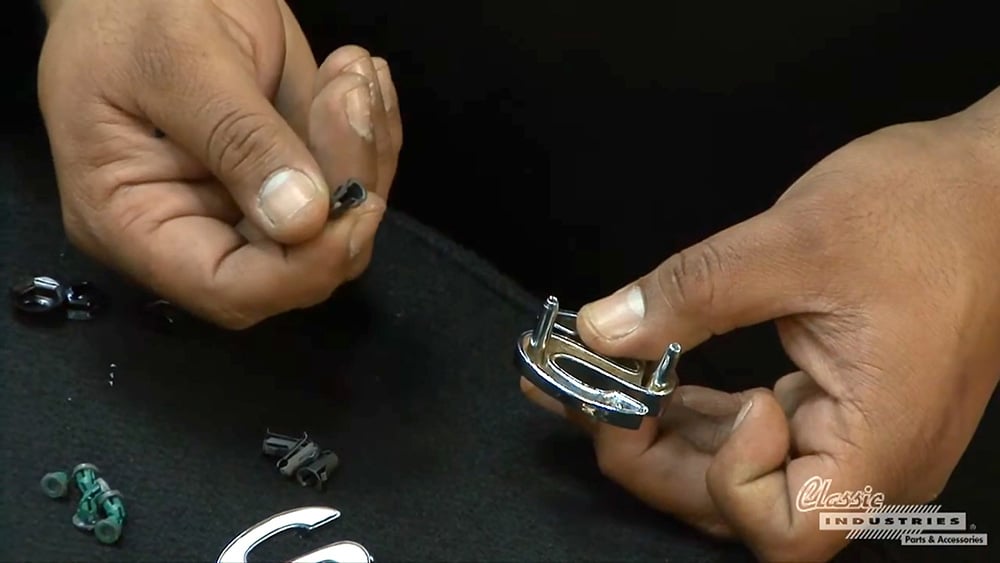
There are two ways to install the emblems: speed nuts and barrel nuts.
Speed nuts must be tightened onto the emblem with a wrench from the back side of the fender, and this can be tricky if the wheels, fenders, and inner fenders are already installed on the car.
Barrel nuts pop into place on the fender, and allow the emblems to be pressed into place without using a wrench or removing any parts from the car. However, barrel nuts will require the holes in the fender to be enlarged (15/64" in this case).
Displacement Emblem Installation
Installing the displacement emblem is similar to the previous emblems. Cut and tape the template in place at the front of the fender, aligned with the fender edge and side marker opening as indicated. To ensure it's straight, Edgar recommends poking holes through the template with a punch and marking these points onto the fender with a grease pencil. Then the placement can be mocked up and checked.
It's important to note that two locations are marked on these templates. Each was used by the factory at some point, depending on the manufacturing plant that built a car. One aligns directly with the side marker, and the other is slightly offset. Use whichever location you like best, and make sure to do the same on the opposite fender.
Need Restoration Parts for Your Camaro?
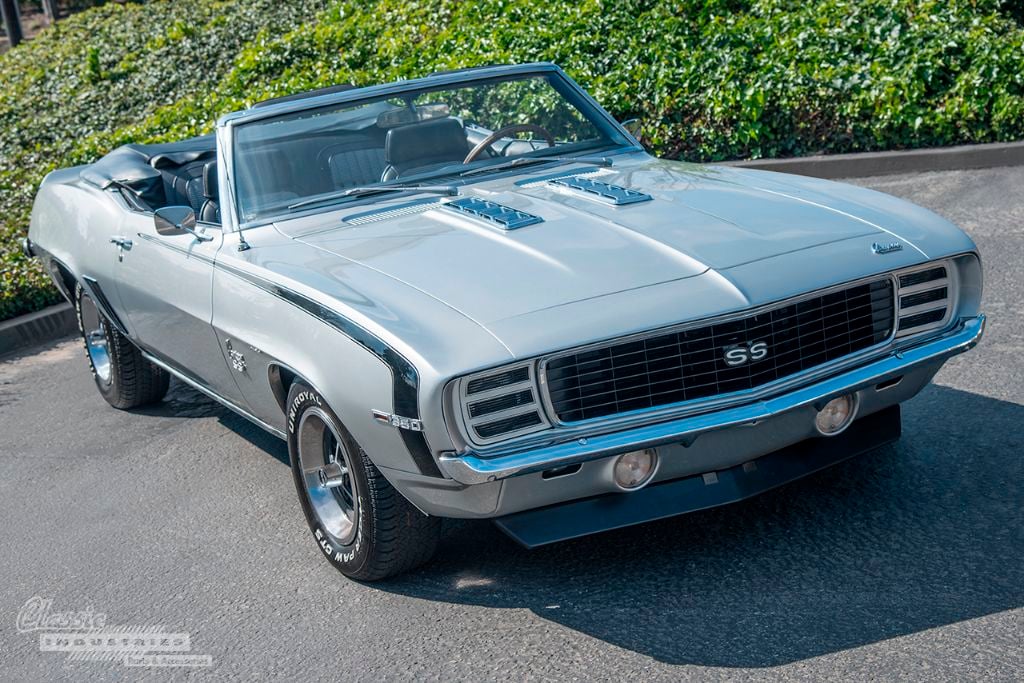
Classic Industries has all the parts and accessories you need to restore a Camaro to factory condition, from emblems and hardware all the way to crate engines and complete subframes. Click the button below to get a free, full-color Camaro restoration parts catalog.