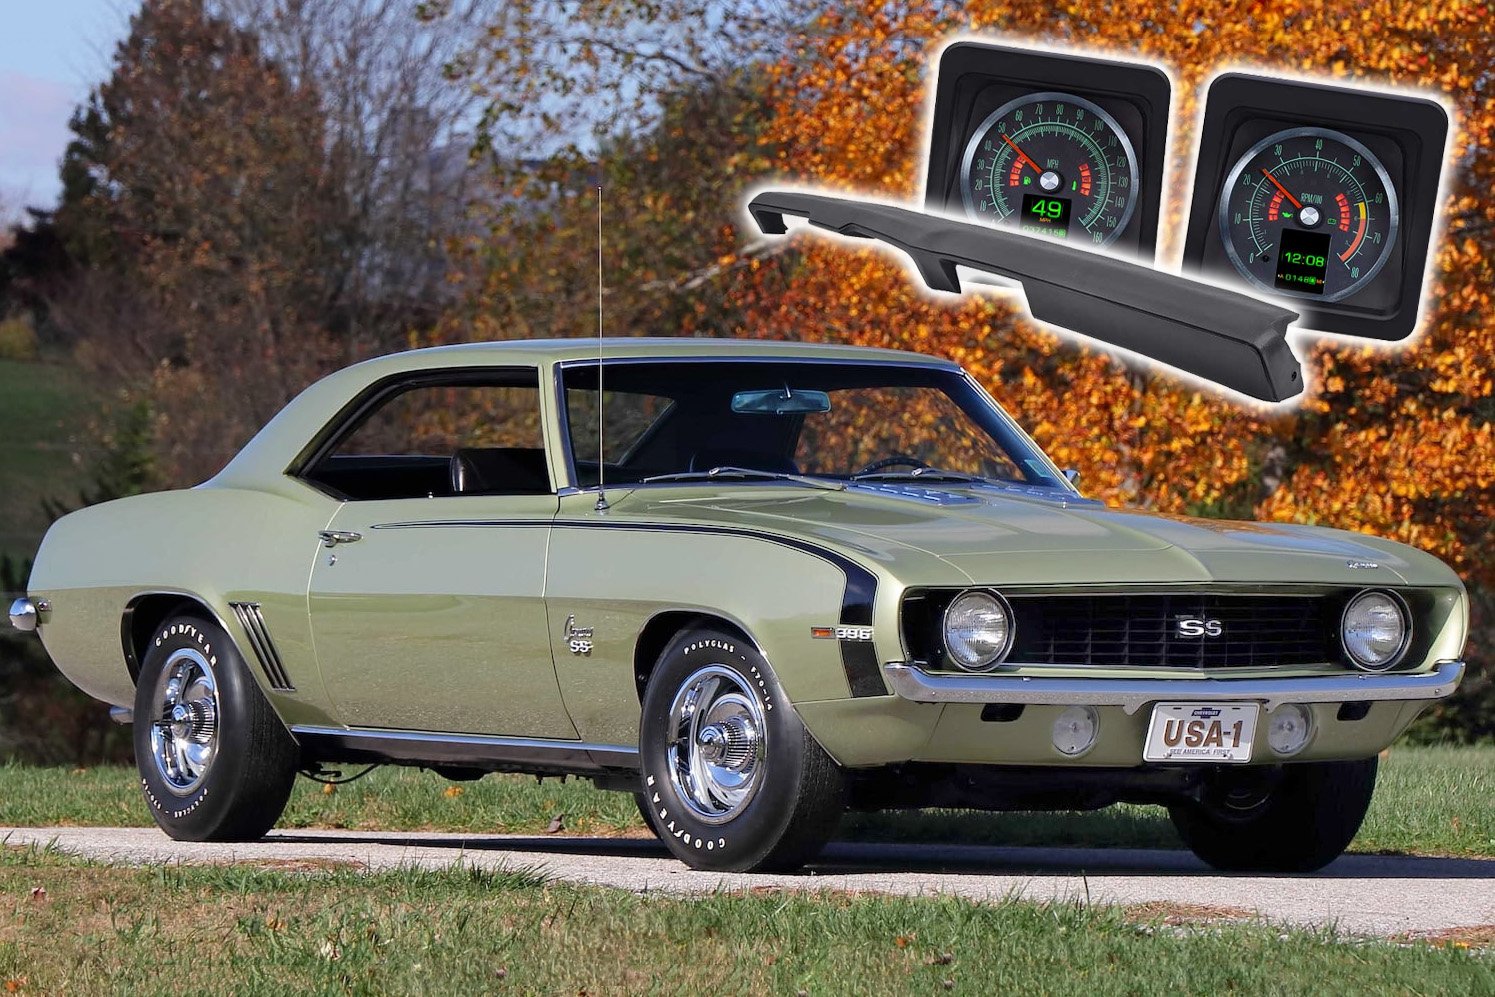
There's a lot to love about the timeless 1969 Camaro, but we can't deny that some aspects of automotive technology have come a long way since the late '60s. Instrument cluster gauges are a good example, and that's why many classic car owners replace these components with aftermarket parts. Ron Ceridono of All Chevy Performance magazine writes, "Most factory gauges didn’t react very quickly or have meaningful numbers, making them only slightly better than warning lights." So, the ACP team wrote an article showing how to install new Dakota Digital RTX gauges in their 1969 Camaro project car.
Lead photo courtesy of Mecum Auctions.
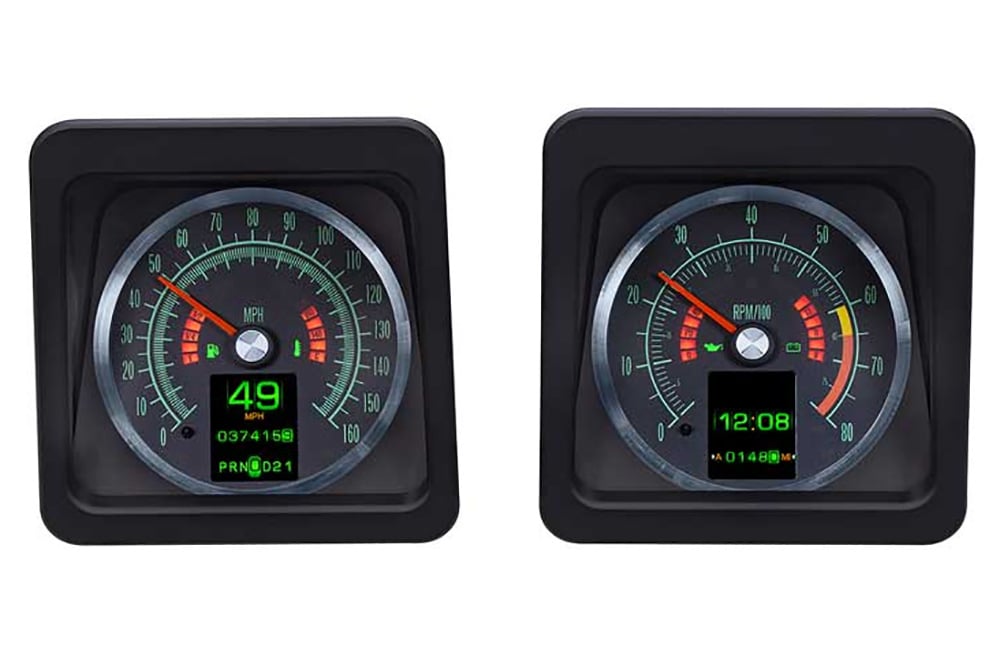
Dakota Digital RTX gauges offer a classic-style speedometer and tachometer that will fit the appearance of a stock interior, but augment the functionality with color-changing LED illumination and two TFT information screens. The RTX gauges feature bar graphs for fuel level, coolant temperature, oil pressure, and battery voltage. The screens can be set up to display "a myriad of real-time information," ranging from current speed and clock to gear selection, fuel economy, and even 1/4-mile time.
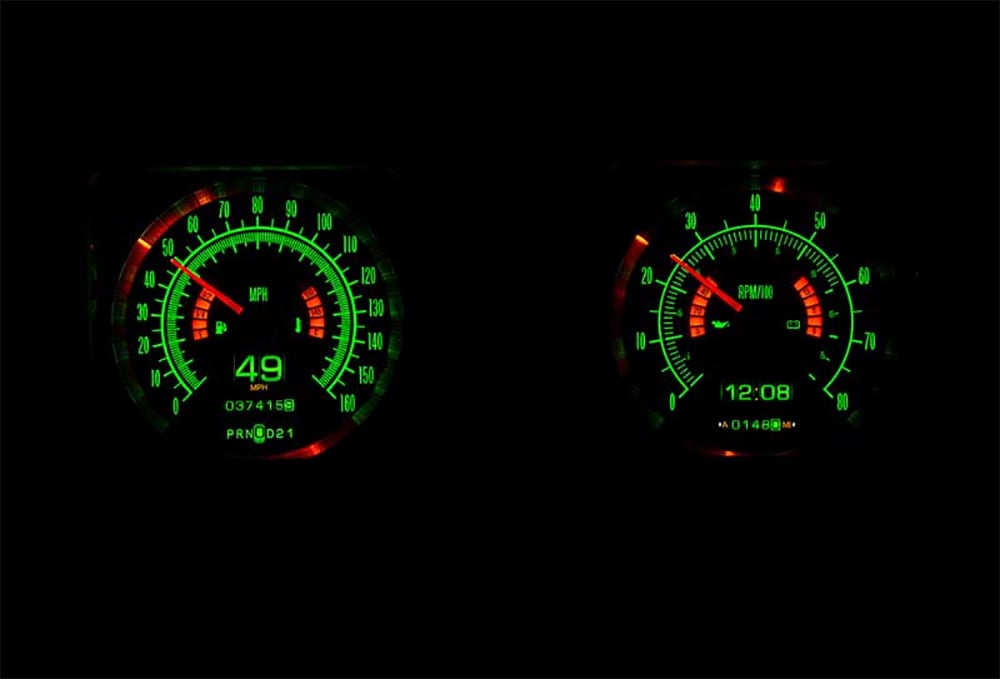
The Dakota Digital RTX gauges' LEDs can be set to over 30 different colors, with different settings for the backlights, needles, and screens. The RTX system can be programmed via a mobile app, or via a simple control switch that's mounted inside the car.
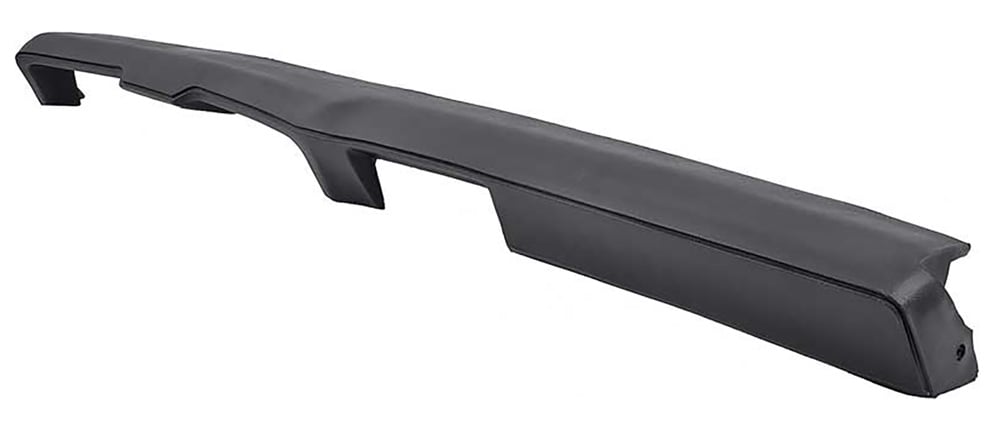
In addition to the gauges, All Chevy Performance picked up a new OER dash pad from Classic Industries for their 1969 Camaro project. It's available in a variety of original interior colors with or without A/C vents; the ACP project car has A/C, so they chose the former option. They also picked up an OER gauge carrier assembly to replace the weathered original piece.
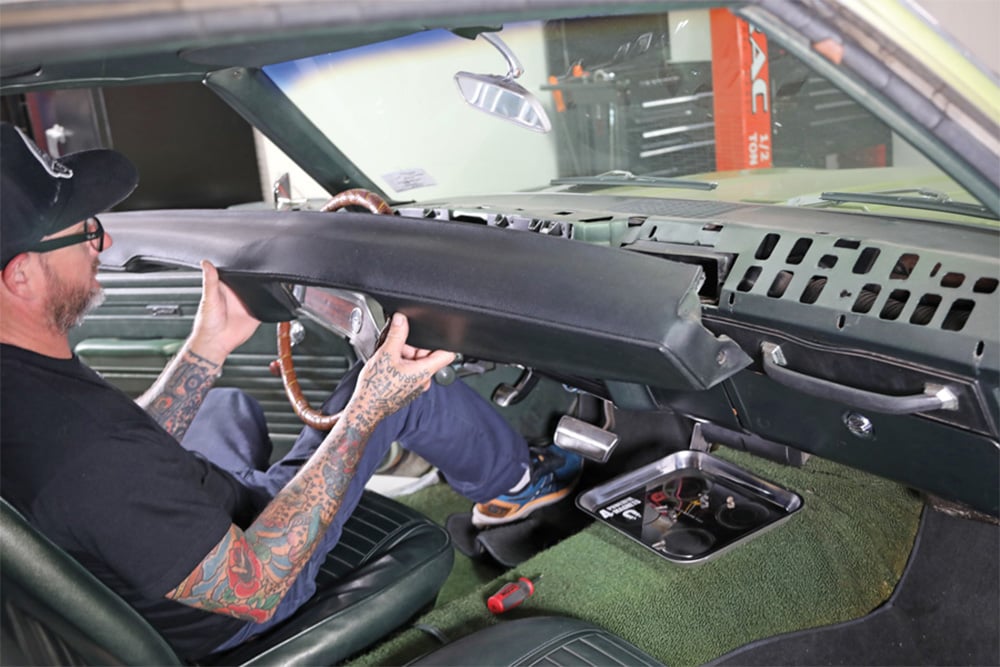
Installation photos courtesy of All Chevy Performance
First, the original dash pad, gauge carrier, and gauges were removed. The steering wheel and column were also unbolted and set aside to provide more room to work.
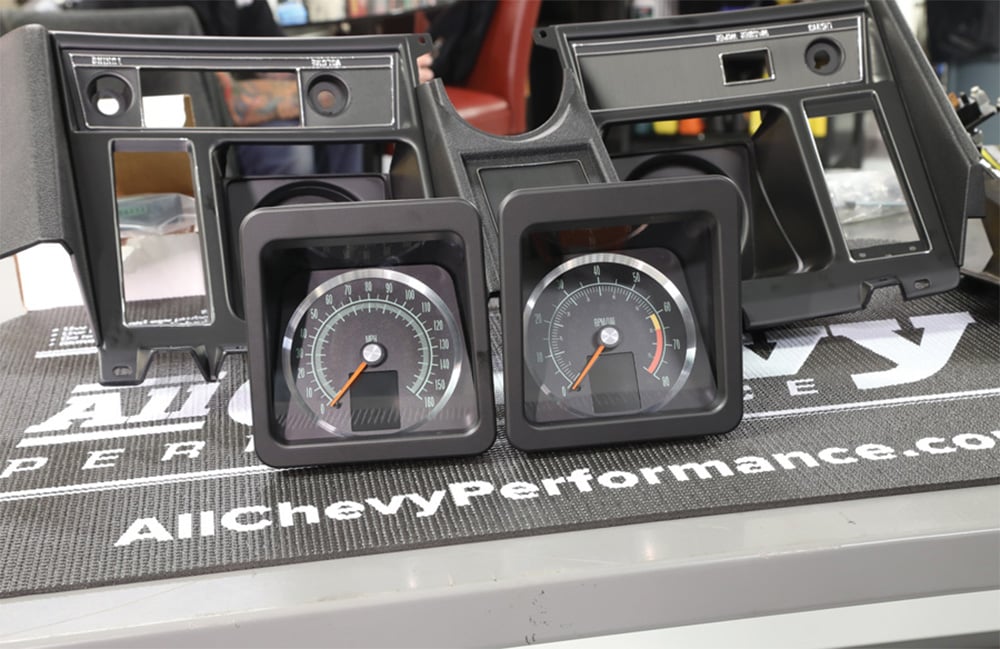
The RTX gauges and OER gauge carrier, pictured above, would pair nicely in the '69 Camaro's interior. The included plug-and-play harness was used to connect the speedometer and tach to the Dakota Digital control module.
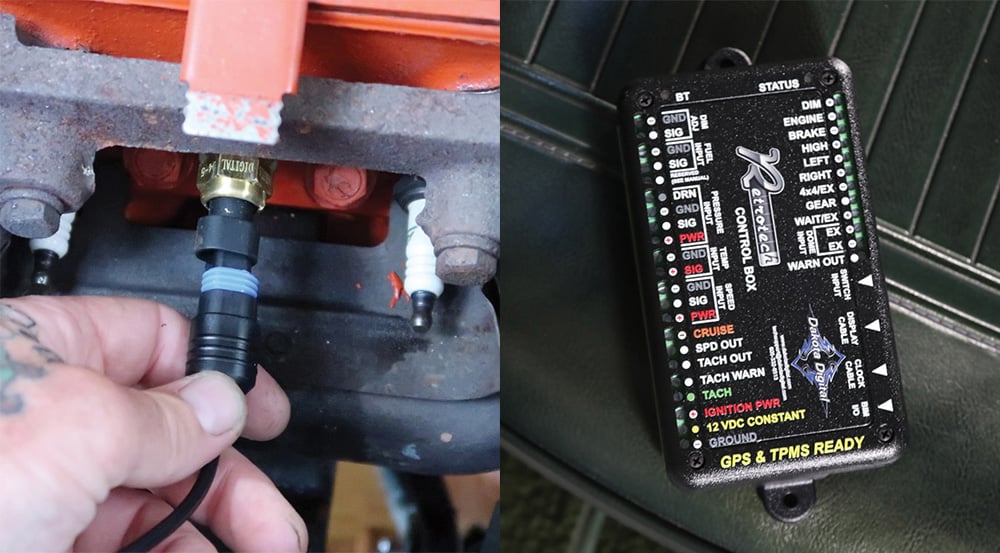
Included gauge senders, such as this coolant temperature sender (pictured above left), were installed under the hood. The appropriate wires were routed through the firewall and connected to the appropriate input points on the Dakota Digital control box (pictured above right).
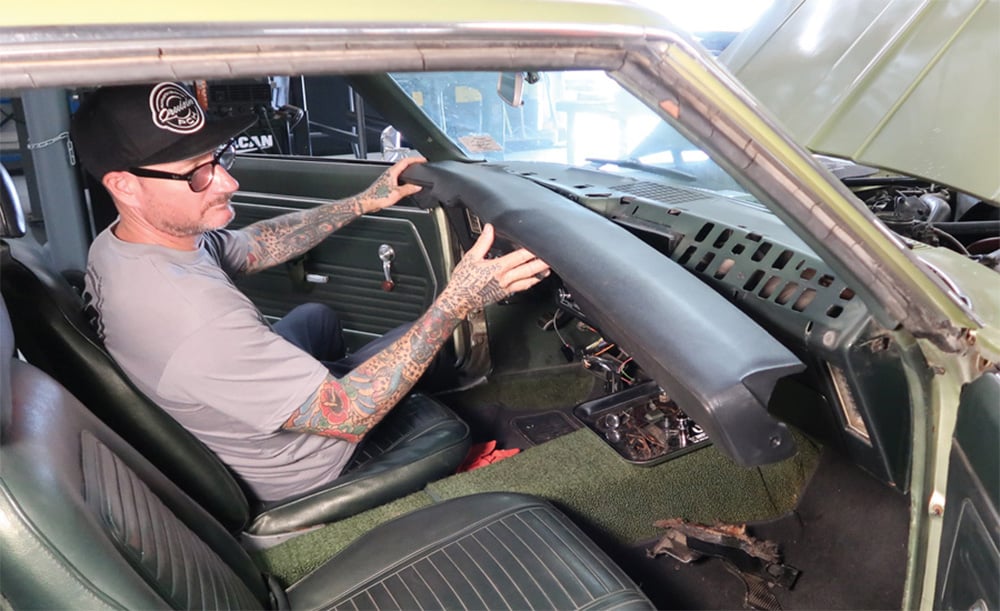
Once everything was wired up, the gauge carrier and gauges were put back in place, and then the new OER dash pad was installed on top. A set of six OER dash pad retainer clips were used to secure it to the car.
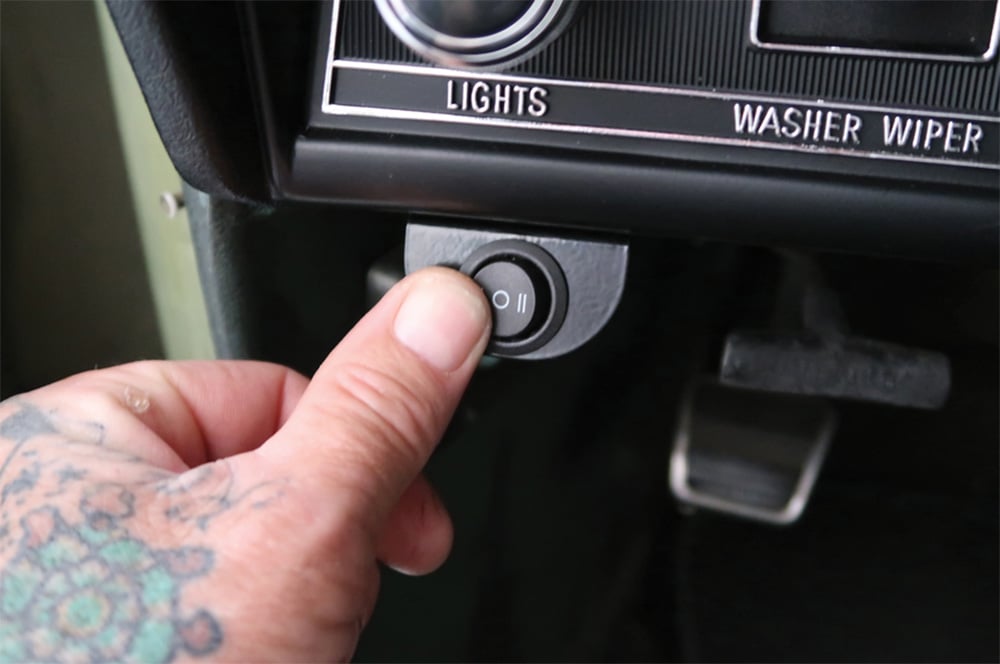
A small control switch included with the RTX gauges was attached to the underside of the cluster. It's used to adjust settings, reset readings, and change illumination modes.
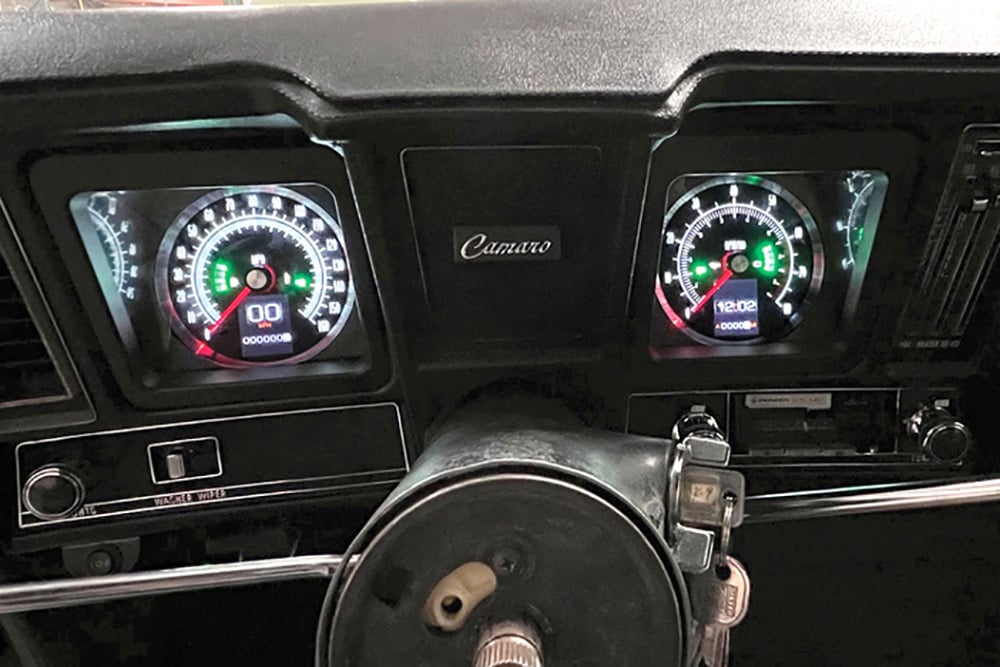
With the steering column replaced and everything cleaned up, the Dakota Digital RTX gauges shine brightly and provide all the essential information to the driver.
If you're considering a similar project for your own first-gen Camaro, we recommend reading the full article from All Chevy Performance. It contains more photos and information about each step of the process. And if you're looking for Camaro parts, check out our web store or click the button below to get a free full-color Camaro parts catalog.


